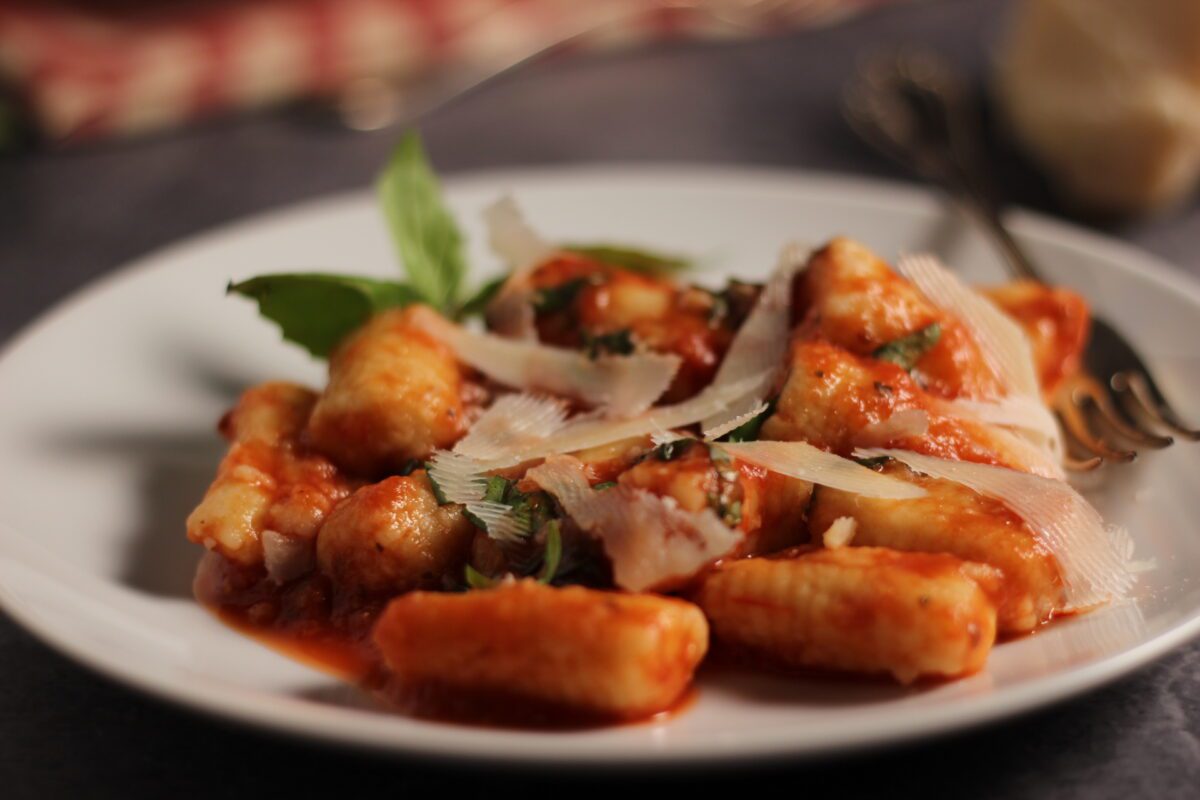
If you’re new to pasta making, Gnocchi would be a great place to start. With no need for special equipment or ingredients, these light and fluffy potato pasta dumplings can be made easily with just a few common ingredients. And since they’re hand rolled, you don’t need a pasta maker.
There are a variety of gnocchi recipes out there but this one is the best I’ve ever made. In fact I think it’s perfect. I found it on a fellow Canadian Food Blogger’s site, Mangia Bedda. In addition to the easy to follow instructions and helpful tips, there’s even a video to watch. It’s not actually in English but you can see how she mixes up the dough which is a game changer.
Jump to Recipe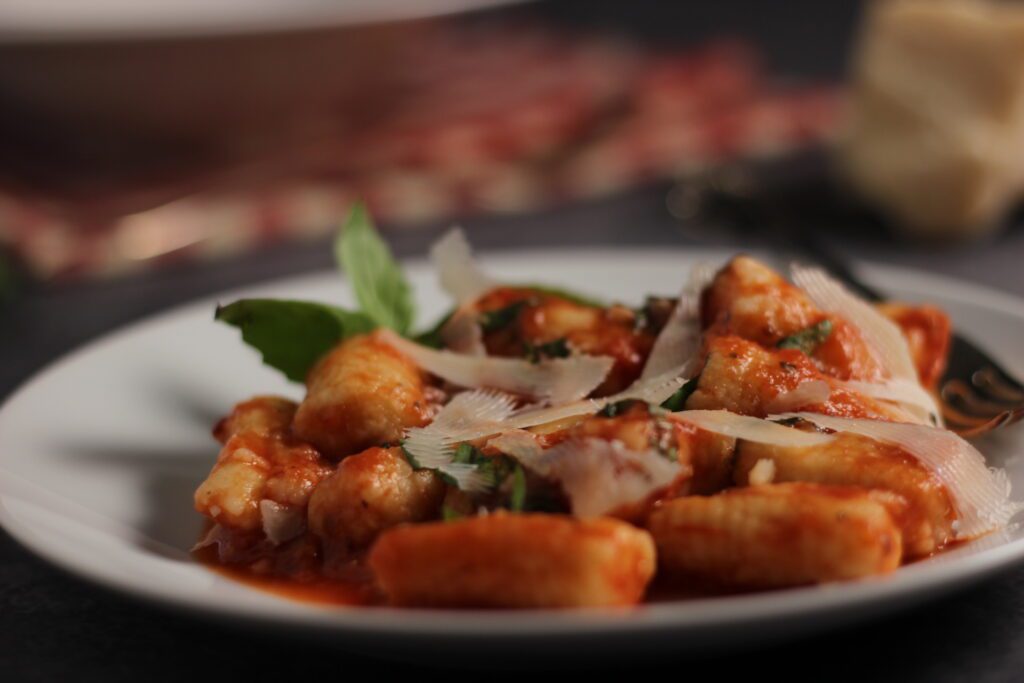
I did mention above that you don’t need any special equipment to make Gnocchi but if you like kitchen gadgets like I do, a potato ricer and gnocchi board would come in handy. Neither are expensive but both are helpful. Otherwise all you need is a fork and…..a fork. A fork works well to fluff up the potatoes for the dough. You don’t want to mash them or crush them since it’s very important to keep the potatoes light and fluffy. And, if you don’t have a gnocchi board to form the pieces, a fork works just fine. As does a grater. But more on that later.
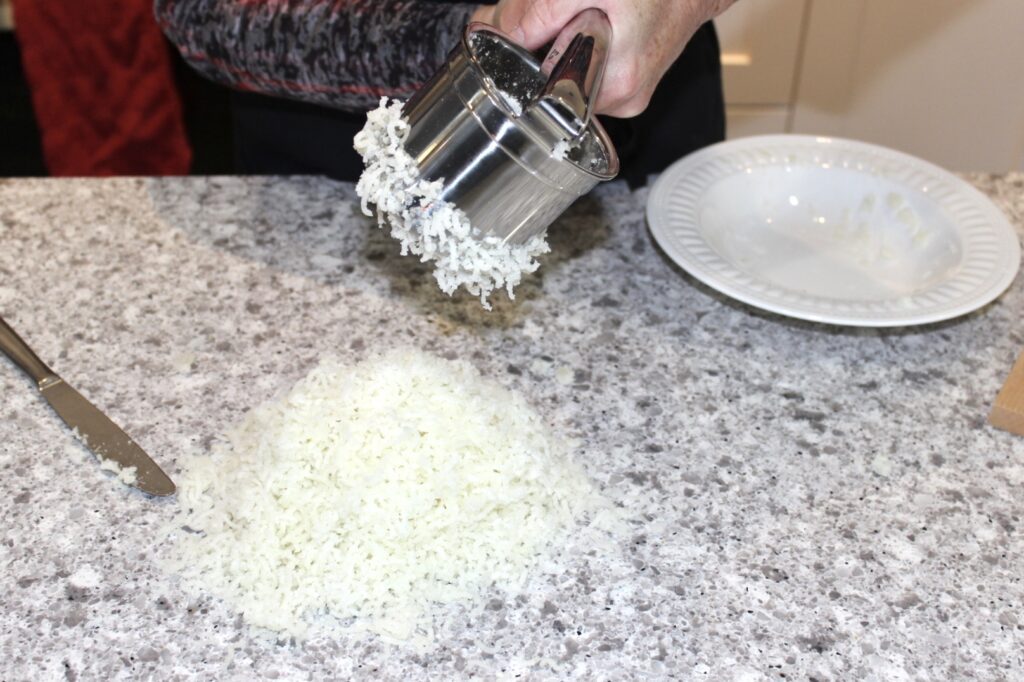
The most important tip I learned in order to make light and fluffy Gnocchi instead of the heavy gluey lumps I’ve made in the past is to use a light hand. Yes, 4 simple words. Use a light hand. That means gently mix the dough with your hands without kneading or pressing. Take your time and you’ll see. It will eventually come together without kneading. Just pile the fluffed potatoes on a clean counter, add eggs to the centre and pour flour around the outside. Season with salt and start gently folding and mixing.

When the dough is smooth, cut it into 4 parts and roll into long thin ropes, about 1.5 cm in diameter or about a half inch. Try to keep the thickness as uniform as possible but that’s the great thing about homemade Gnocchi. They don’t have to all look exactly the same. If they did, no one would believe you made them. They do puff up when cooking so try not to make them too big.
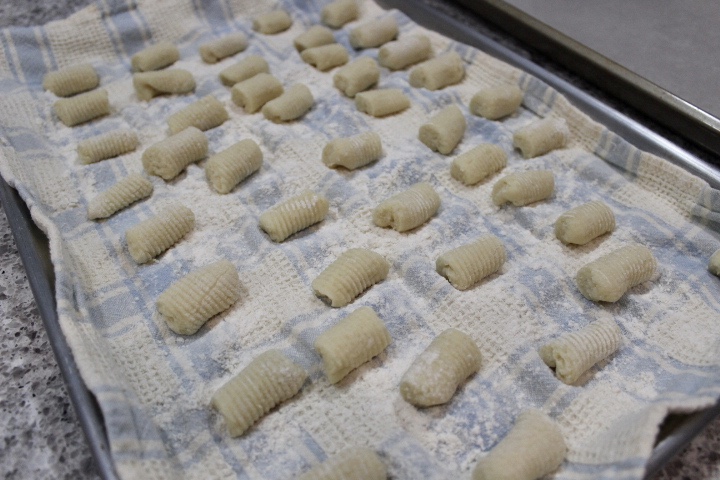
Here’s the fun part. Cut equal sized pieces, about 3 cm each, or just over an inch. Get a large baking sheet, add a sheet of parchment and dust with flour. A clean kitchen towel will work too. Now, shape each gnocchi into rolls by using the side of your thumb and gently pressing as you roll down the gnocchi board or fork tines. Or a grater works too. What you want is texture on the outside of the curled gnocchi. Why? It’s not just for show, it’s also to give the sauce something to hold on to.

I’ve had Gnocchi served in restaurants that are just cut pieces. So if you aren’t sure about the shaping and want to get right to the cooking and eating part, go right ahead. There’s no Gnocchi police. Just toss them in a big pot of boiling water and cook them until they float. Then remove them and toss in some sauce.
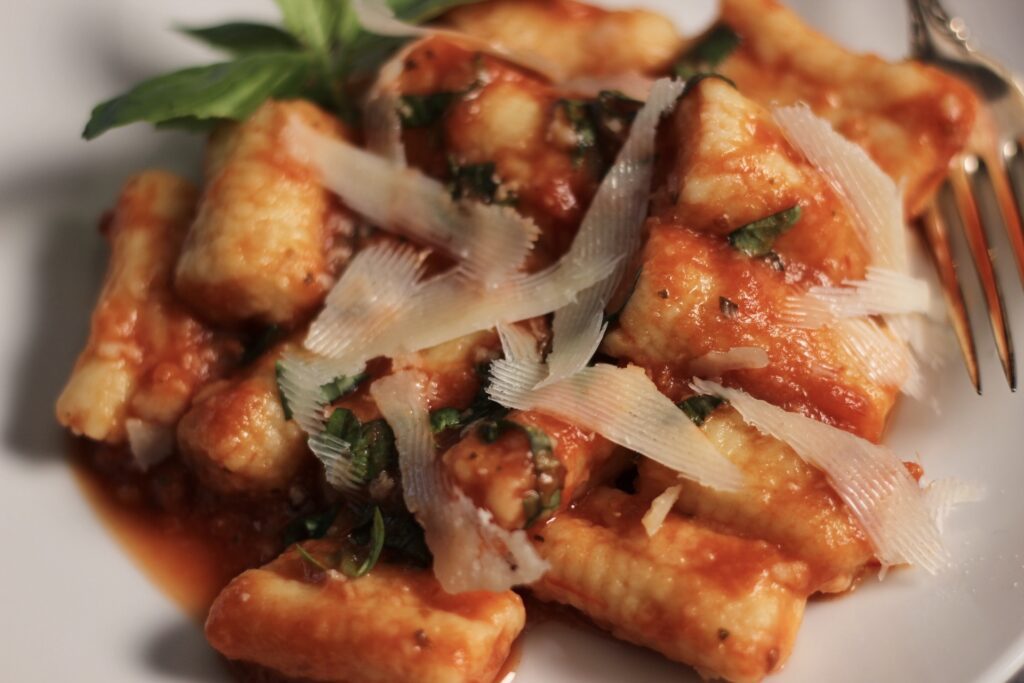
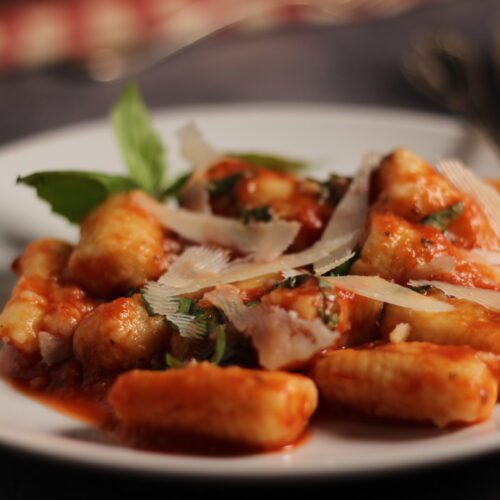
The guys in my house like this with a hearty meaty sauce. But I like to serve homemade Gnocchi with a simple sauce so it doesn’t overpower all your hard work. My favourite is Marinara sauce with fresh basil. A simple sauce of browned butter with fresh sage works great too. Just don’t forget to add some freshly grated Parmesan cheese! If you use a veggie peeler you’ll get nice strips like this.
Here’s the recipe:
Gnocchi
Equipment
- Optional: Potato Ricer
- Optional: Gnocchi Board
Ingredients
- 1 kg russet potatoes, boiled and slightly cooled 4-5 large russets
- 2 large eggs
- 2½ - 3 cups all purpose flour
- pinch of salt
Instructions
- Peel and boil potatoes until tender. Drain well and allow to cool until you can handle them.
- Using a fork or a potato ricer, fluff potatoes into a pile on a clean smooth surface.
- Make a well in the middle and crack 2 eggs into centre. Whisk eggs with a fork.
- Sprinkle flour around the outside of the potato pile. Sprinkle salt over top.
- Using a light hand, begin to incorporate flour into potato mixture from the outside in, folding gently and turning. Mixture will be very crumbly and may appear to not be combining well but with patience the mixture will come together.
- Press dough into a flat circle and divide into 4 sections. Working with 1 section at a time, roll gently into long thin ropes. Cover remaining sections of dough with a damp towel to prevent drying out. (This is a good tip when learning to make gnocchi as you will be slower than an expert)
- If ropes become too long, cut in half and work with smaller pieces. Once the dough is rolled into 1.5 cm thickness or about half an inch, cut into small pieces, approximately 3 cm long or about an inch or so. Gnocchi puffs up when cooked so make sure your pieces aren't too big.
- Use the side of your thumb and a gnocchi board or fork, roll each piece to form a curved ridged gnocchi. Lay on a baking sheet on parchment dusted with flour.
- Continue with rest of dough. At this point gnocchi can be frozen and cooked later. Freeze on the baking sheet, then drop into freezer bags once frozen to prevent gnocchi from sticking together. Do not thaw before cooking and cook time will take slightly longer than fresh gnocchi.
- To cook fresh gnocchi, bring large pot of salted water to a boil. Slide all gnocchi off parchment into pot. Boil until all of most of the gnocchi float to the surface.
- Remove with a large slotted spoon or mesh ladle and toss cooked gnocchi into sauce of your choice for serving.
more pasta recipes
Creamy Chicken and Mushroom Rotini

