Light and fluffy Buttermilk Biscuits are hard to resist when still warm from the oven. Along with a great recipe with tips for best results, having 3 options for shaping and 3 ingredient variations, this recipe is 3 times as good. Or is that 9?
Not to be confused with scones which are typically made with eggs, Buttermilk Biscuits are soft and fluffy with flaky layers and only have a handful of ingredients. They’re most commonly served plain, cut into rounds but you’ll see below that there are other ways to shape them that are actually easier, and, a few ingredients options that might be right up your alley. I’m a huge fan of any variation of a Buttermilk Biscuit served warm with butter.
Jump to Recipe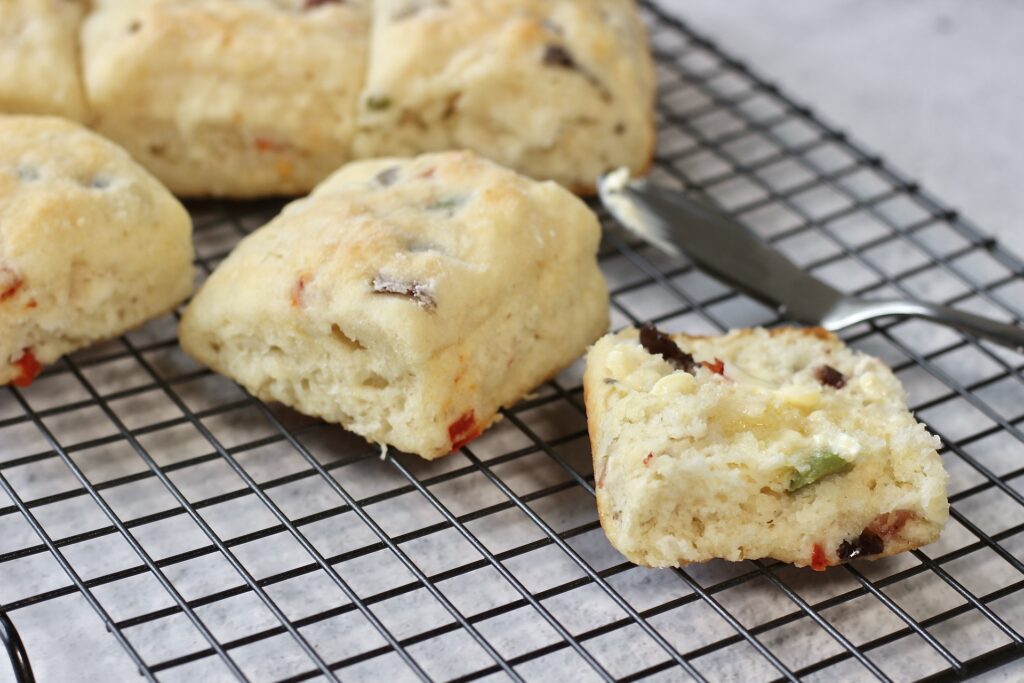
It’s important to use cold butter when making your biscuit dough. Once you’ve sifted together the dry ingredients, add cold cubes of butter and use a pastry cutter (or do you call it a pastry blender?) to incorporate the butter until it’s in smaller pieces, like the size of peas. Work quickly so the butter stays cold. You can also use the largest holes in a box grater. It helps if you freeze the butter first. Again, you have to work quickly if you use this method and make sure you don’t handle the butter too much as your body heat will soften it.
If you’ve got a food processor, you can mix the dry ingredients with the butter in short pulses. In fact, many people swear by this method because it takes no time at all and you’re least likely to warm the butter by handling it. Just be careful not to over process. The less you mess with the dough, the better.
Add cold buttermilk all at once and stir only until the milk is incorporated. Did you know buttermilk isn’t high in fat like it sounds? It’s actually only 1 or 2 percent milk fat! If you’re using the food processor, pulse a few times after adding the milk. Then dump the dough onto a floured surface and GENTLY fold it over itself a few times. This helps create layers. The dough is quite soft and sticky. Make sure you have a little pile of flour to dust your hands and the dough so it doesn’t stick to you or the counter. Then choose the shape you want to make your biscuits.
How to Shape Buttermilk Biscuits
Start by gently pressing the dough into a disk about 1 inch thick. To make round biscuits you’ll need a biscuit cutter. Or a round cookie cutter if it’s deep enough. Just make sure it’s sharp enough to slice through the dough. A wide drinking glass doesn’t work because the soft edges just press down the dough, almost sealing it, thus preventing proper rising. Round biscuit cutters come in different sizes so baking time will vary depending on the size you make.
The tricky part about cutting round biscuits is the leftover dough. Cut as many biscuits as you can, as close together as you can, then gently fold and shape the remaining dough into an oval about as wide as the biscuit cutter. Cut the rest of the biscuits, then shape the last bits into one last biscuit as best as possible. Place them on a non stick or parchment lined baking sheet. You’ll end up with one funky looking biscuit but that’s for you to eat right away. To make sure it tastes ok, right?
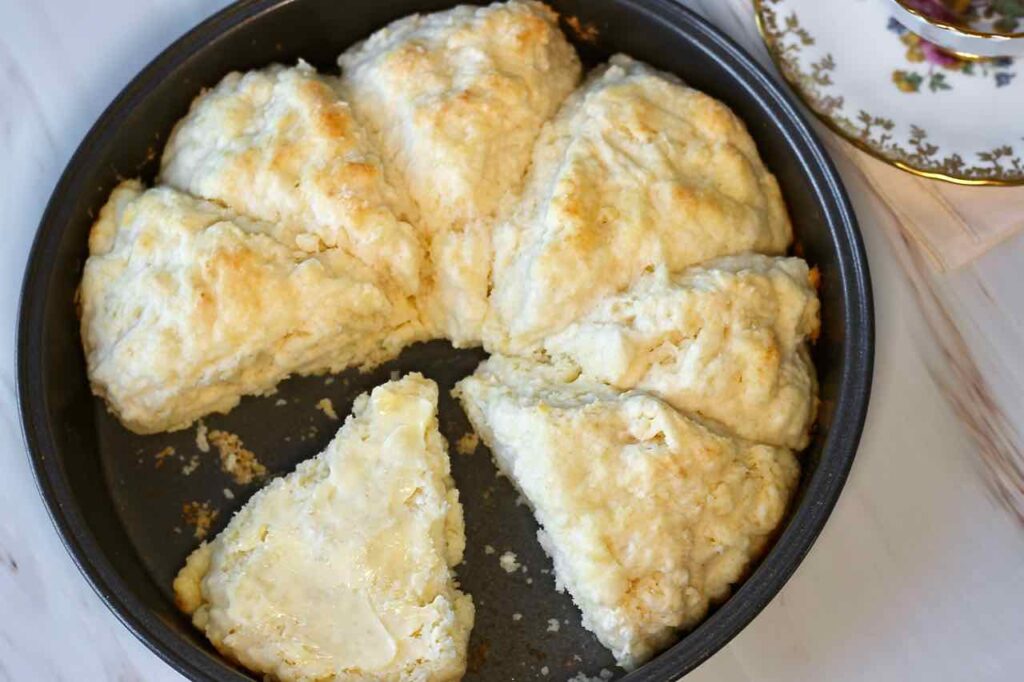
If you don’t have a biscuit cutter or just want to try a different shape option, grab a round or square cake pan. For wedges, press the dough into a disk a little smaller than the pan. Then, using a very sharp knife that’s been dusted with flour, cut in half, then quarters, then each quarter in half. You’ll have 8 equal sized pieces and no need to re roll the dough. Try not to just press down on the knife, use a gently sawing method to prevent squeezing the edges of the dough. Then gently move the pieces into the pan and arrange them without touching each other. (That’s why you need to make the disk smaller than the pan)
Or, using a similar idea, press the dough into a square shape as best as possible, smaller than the pan. Then cut into 9 equal pieces and arrange in the square pan. No need to butter any of the baking pans, as long as they’re non stick your biscuits won’t stick to the bottom. Again, no need to re roll any dough. The corner pieces will be a slightly different shape but they all taste the same which is what’s really important. And no matter what shape you choose, the tops will be a little shaggy but that’s ok.
Here’s an excellent tip that helps your Buttermilk Biscuits get lots of height. While the oven is preheating, place the pan in the freezer. Getting the dough extra chilled creates steam while they’re baking, resulting in nice airy layers. The chill also ensures the butter stays solidified so your biscuits keep their shape.
Biscuits like to be baked at a fairly high temperature and not too low in the oven. Use the middle rack and a 425 degree heat. The biscuits baked in the pan closer together take slightly longer than the round ones. Because there isn’t as much heat getting between them. So you’ll need to add a few extra minutes of baking time for those guys. They’ll expand slightly and gently nudge each other but can easily be pulled apart after cooling on a rack.
Now that you know your options for shaping and cutting Buttermilk Biscuits, here are three versions of the recipe:
Plain Buttermilk Biscuits. Yup, plain old biscuits. They’re perfect eaten on their own, warm with butter of course, but they’re also great with jam or other spreads. Or white gravy if that’s your thing.
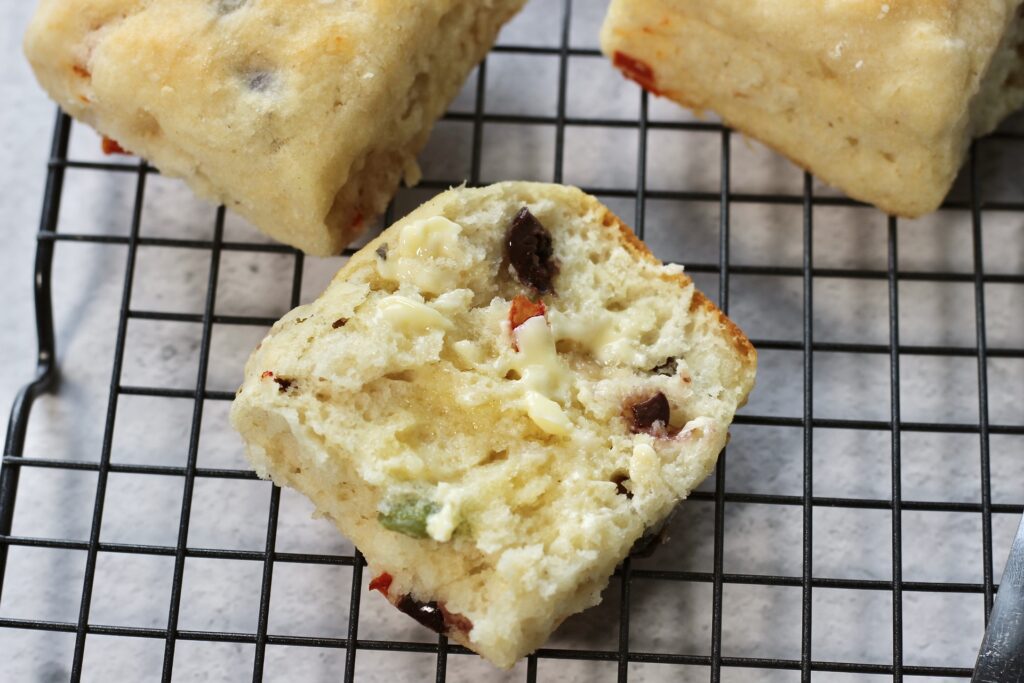
Olive Buttermilk Biscuits. If you love the salty briny flavour of olives, you’ll love these. You need to reduce the salt in the biscuit dough because the olives are salty. Try a mixture of ripe olives (black olives), kalamata and pimento stuffed green olives and make sure they’re well drained.
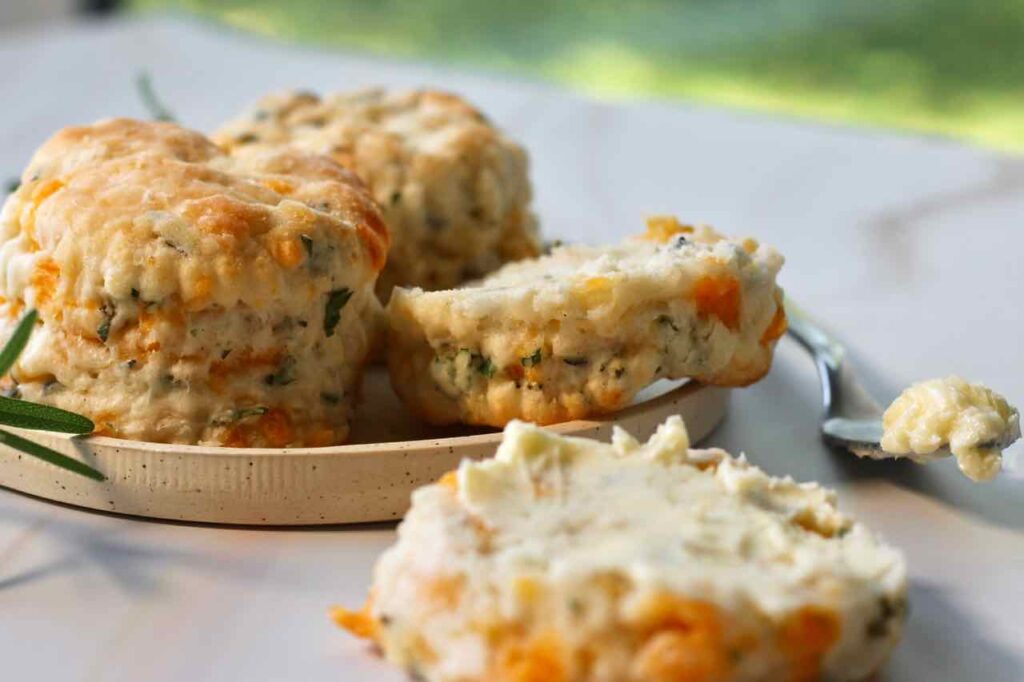
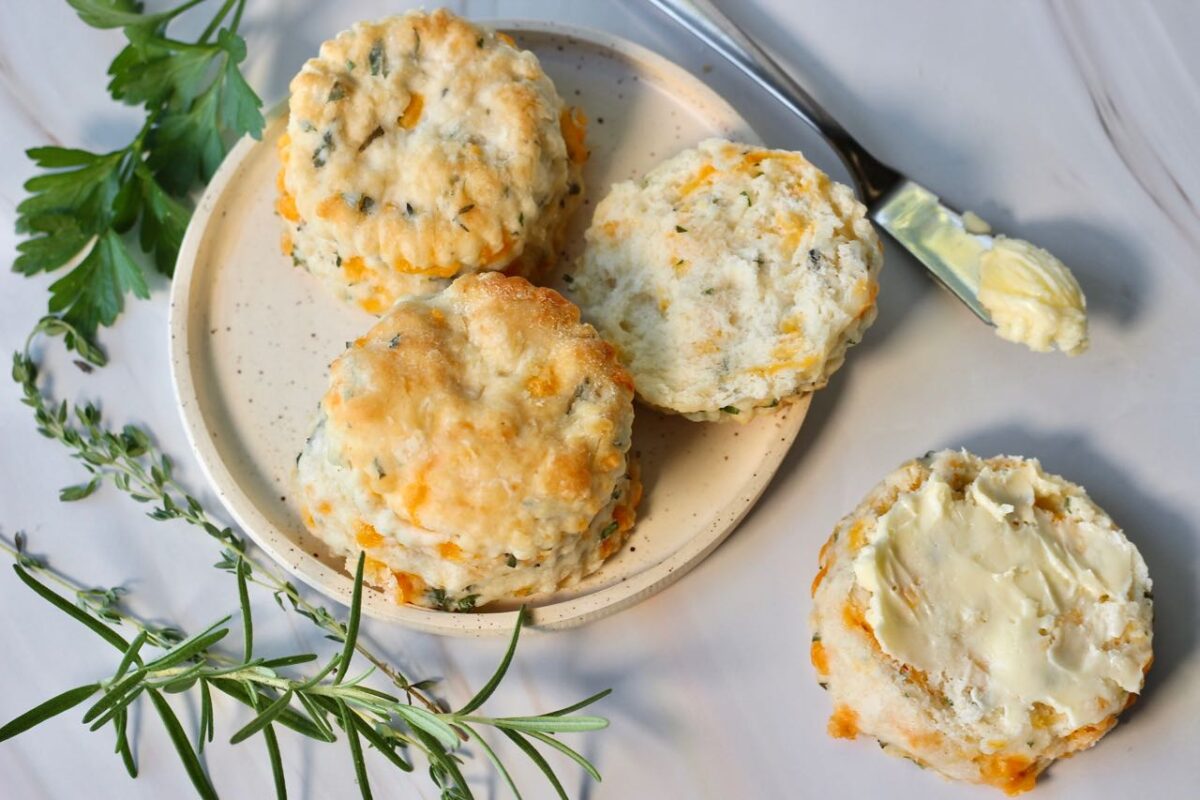
Herb and Cheese Buttermilk Biscuits. These have more colour and flavour than plain biscuits but they usually aren’t as light and fluffy because the cheese adds some weight. Use a strong cheese like old cheddar so you actually taste cheese but don’t use so much that it overpowers the dough and weighs it down. Use any soft leafy herb combination. I like parsley, sage, rosemary and thyme.
Three Ways. Three shapes. Three recipes. What’s your favourite?
Serve Buttermilk Biscuits with Potato Leek Soup, Sheet Pan Barbecue Ribs or Smoked Beef Brisket. If you try this recipe, feel free to leave a comment or rating below. Here’s the recipe:
Buttermilk Biscuits Three Ways
Ingredients
Plain Buttermilk Biscuits
- 2 cups all purpose flour plus extra for dusting counter
- ¼ tsp baking soda
- 1 Tbsp baking powder
- ¾ tsp salt
- ⅓ cup cold unsalted butter
- 1 cup buttermilk or regular milk reduced by 1 Tbsp with 1 Tbsp vinegar or lemon juice
Herb and Cheese Biscuits
- increase flour by 2 Tbsp
- reduce salt to ½ tsp
- ¼ cup chopped fresh herbs ie parsley and chives
- ⅔ cup shredded sharp cheddar cheese
Olive Biscuits
- reduce salt to ½ tsp
- ¼ cup chopped mixed olives, well drained
Instructions
- Sift together flour, salt, baking soda and baking powder.
- Cut cold butter into cubes and add to dry mixture. Using a pastry cutter, cut in until butter is the size of peas. Or, add dry ingredients to food processor along with cold butter chopped into pieces. Pulse a few times until mixture forms course crumbs.
- Add buttermilk all at once. Stir until just blended or pulse a few times until almost incorporated.
- Dump onto a clean lightly floured surface. Gently fold dough over itself a few times to create laters. Using floured hands, flatten into desired shape approximately 1 inch thick. Use extra flour to prevent sticking to surface and hands.
- Cut into desired shape. Re-shape and cut if making round biscuits with leftover dough.
- Arrange biscuits close together in similar shaped non stick baking pan.
- Bake on middle rack at 425° for 12-13 minutes depending on biscuit size. Smaller shaped biscuits will take 11-12 minutes while larger wedges will take 14-15 minutes. Tops should be only very slightly browned.
Herb and Cheese Biscuits
- In addition to above instructions, chop herbs and shred cheese. Add to dough before adding buttermilk and toss well with dry ingredients.
Olive Biscuits
- Chop olives and drain very well. Add to biscuit dough after adding butter and blend well before adding buttermilk.

Yummy! I want to bake some right now!
You won’t be sorry! I just received a note from a subscriber who’s on her third batch already!
After the water went down, I made the herb and cheese. Delicious. The grater for the butter was a great idea.
Right? I wish I could take credit for it!
We used your herb and cheese recipe and substituted 2 tbsp diced jalapeños (and the seeds) for the herbs. I was back and forth between your recipe and another one that suggested to brush some buttermilk on the top of the biscuit and sprinkle some more cheddar before putting in the oven. They were amazing! Crispy on the outside and super delicious!
I love the idea of jalapenos! I will have to try that. And cheese on top, yum!