
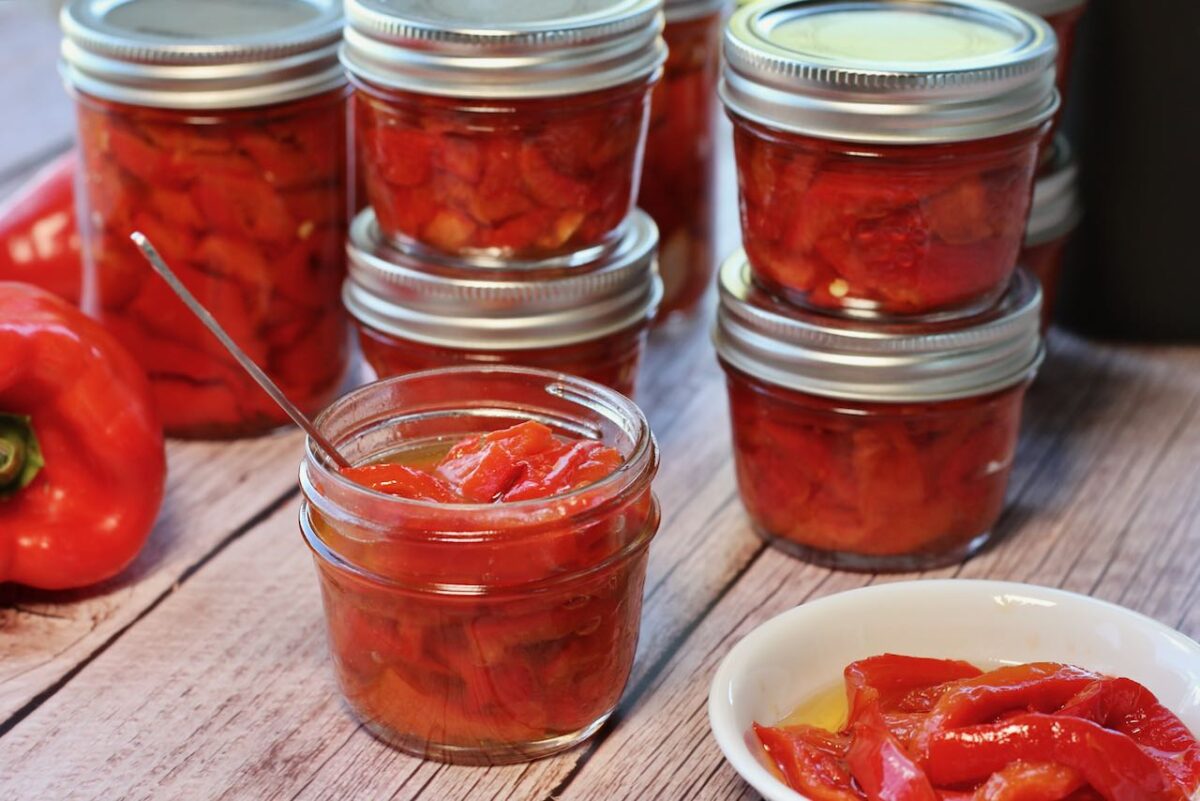
If you haven’t tried making your own Roasted Red Peppers, now is your chance. Not only is this a very straightforward method, but best of all, you make each jar individually so you can make as many jars as you like. Or just a few.
Homemade treats from your kitchen make great gifts. I often make little jars of various preserves and take them as hostess gifts or use as stocking stuffers. These small jars of peppers are perfect because you don’t need a lot to add a punch of flavour. Not sure how to enjoy Roasted Red Peppers? They make great pizza toppings. You can add them to pasta dishes. Some people like to put them on sandwiches. I love them in Mediterranean Pearl Couscous Salad.
Jump to Recipe
Choosing the right peppers and the right amount
Look for bright red sweet peppers that are fresh picked and ripe. If you’re lucky to live near a farm or vegetable stand, you’ll know when they’re in season. Sweet peppers with thicker flesh are easier to peel. But they all have a wonderful flavour that intensifies after roasting.
Plan on using at least one full pepper for the smallest canning jars. These are called quarter pints and will hold about 4 oz or half a cup. I don’t recommend using larger jars because once you open the jars, they should be used up within a few weeks.
How to roast a red pepper
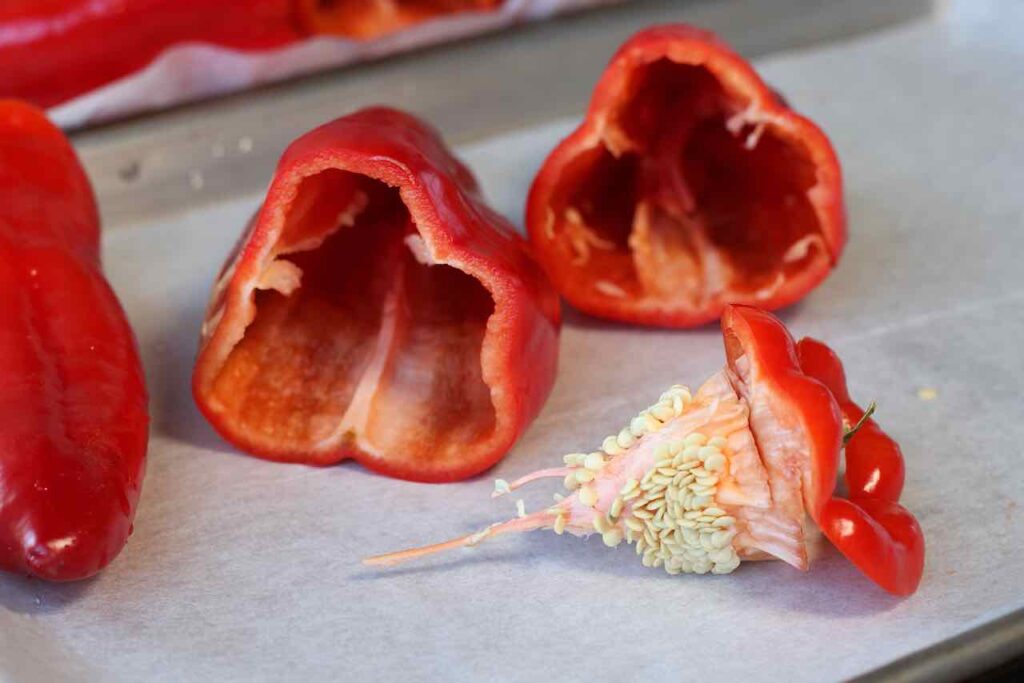
You can roast peppers whole, but after watching this video, from which this post is inspired, I did find that cutting the top off before roasting was a good idea. If you cut a circle right around the top, most of the veins and seeds pop right out.
You can get a really good char on the skin of your peppers if you use the barbecue. Lay your peppers right on the grill and watch them closely. Keep turning them until most of the skin is blackening and the peppers are getting soft. Then put them all in a covered heat safe bowl or, great idea from the video – a pot with a lid. This allows the peppers to continue to steam which helps them peel easily. Once they’re cool enough to handle, the peel is fairly easily removed by scraping with the tip of a knife. If you’re lucky. Don’t worry if there are bits of skin left on the peppers, it’s not a big deal.
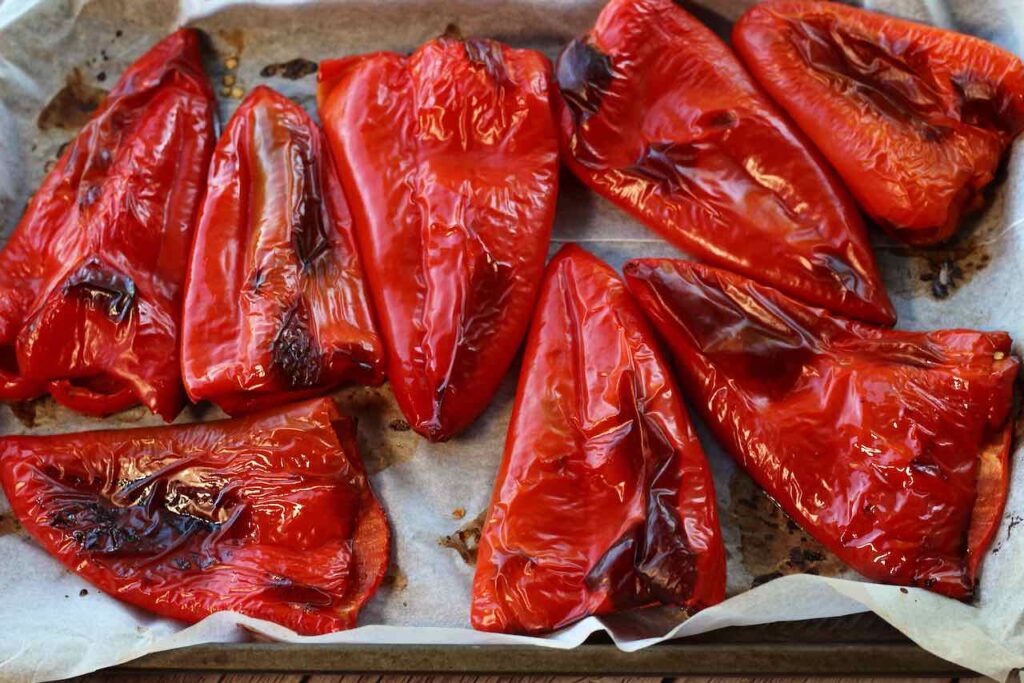
The other way to roast the peppers is in the oven. You want a high heat and convection setting if you have it, which circulates the air for better charring of the skin. Keep an eye on them and turn them over once the top side has lots of colour. Parchment paper is your friend! But don’t be tempted to use the broil setting, otherwise the paper could catch on fire. I shouldn’t admit this but I did learn that lesson the hard way.
How to preserve roasted red peppers
Make sure you have clean jars and new lids and seals. If you have a “canner” which is a large pot with a rack for making pickles etc, fill with water to the appropriate depth that will completely cover the jars and bring it to a boil. This could take some time if your pot is huge like mine so getting this started is helpful. If you don’t have a canner, you can use a large pot and lay a dish cloth in the bottom before lowering your jars in.
Once your peppers are peeled, cut them into the size you like. Place a half clove of garlic in the bottom of each jar. Fill with peppers, packing them in tightly, leaving at least half an inch of space at the top of the jar. Add the vinegar and then some oil. Use a skewer to poke the peppers down and move them around to remove any air pockets. Top with more oil to make sure all the peppers are covered.
I had an Italian friend tell me she doesn’t add any acidity to her Roasted Red Peppers. In the interest of safety in home canning, I do recommend using vinegar. Enough to (hopefully) prevent growth of bacteria, but not enough to make the peppers taste pickled. It’s a little less than in the video that inspired this recipe. I compromised.
Wipe the rim of the jars with a clean damp cloth to make sure nothing interferes with the seals. Top with seals and rings. Remember about not overfilling the jars. During the canning process, the contents are pressurized and if you don’t have some room for expansion, your jar could break open in the pot, thus wasting an entire jar of peppers that you worked so hard for. Another lesson I learned the hard way.
Once the big pot is boiling, lower the jars into the pot. Make sure the jars are well spaced apart so they don’t bump into each other in the canner. Cover the pot and boil for about 7-8 minutes. If you don’t have a canner pot with a rack, remove carefully with thick rubber oven mitts.
Cool the jars on a heat safe surface. You’ll hear the lids pop shortly after they come out of the canner. That means they’re sealed. Your peppers will now be shelf stable and can be stored for ages. When they’re cool enough to handle, make a label for each jar, especially if you’re planning to gift them.
If you try Roasted Red Peppers, consider leaving a comment or rating below. Let everyone know how you like to enjoy them. Here’s the recipe:
Roasted Red Peppers
Equipment
- 12 Quarter Pint Canning Jars with Lids 125 ml or 4 oz jars
- 1 Canner or Large Pot with Lid
Ingredients
- 15 sweet red peppers amount of peppers will vary depending on size
- 12 tsp regular white vinegar
- 24 Tbsp olive oil amount will vary depending on how tightly packed each jar is
- 6 cloves garlic
Instructions
- Line 2 baking sheets with parchment paper and preheat oven to 400° on convection roast or 425° regular roast.
- Rinse and drain peppers. Slice around the top of each pepper and pop off, removing most of seeds and veins. Arrange peppers on baking sheets without overcrowding.
- For oven method, roast in upper portion of the oven for about 10 minutes, or until skins are darkening. Turn over and continue to roast for 10 more minutes or until other side is darkening.
- For BBQ method, set outdoor grill to high heat on all burners. Arrange peppers on grill and allow to get well charred, turning often. Remove from grill when peppers have lots of dark skin all over and are softening.
- Place roasted peppers in a bowl or pot and cover with lid. Leave covered until peppers are cool enough to handle, about 15 minutes.
- While peppers are cooling, fill canner pot with enough water to completely cover jars. Set over burner on high and bring to a boil.
- Peel garlic cloves and cut in half. Place one half in each jar.
- Peel and/or scrape skin off peppers. Cut into slices or strips. Add pepper strips to jars, packing in well. Do not over fill, leave about 1/2 inch of space at the top of each jar.
- Sprinkle 1 tsp of vinegar over each jar, then top with some olive oil. Using a skewer or similar tool, poke into jars to release any air bubbles and allow oil to distribute evenly. Top with more oil if necessary to completely cover peppers. Remember not to overfill.
- Wipe rim of each jar with damp cloth. Top with new seals and rings.
- When canning pot has reached a full boil, arrange jars on rack without crowding and lower into pot. Cover and boil for about 7 minutes. Depending on the number of jars you are making, you may have to process the jars in batches.
- If you don't have a canner pot with a rack, place a kitchen towel in the bottom of a large pot and carefully lower jars into the pot using heat safe rubber oven mitts.
- Cool jars on a towel on the counter.