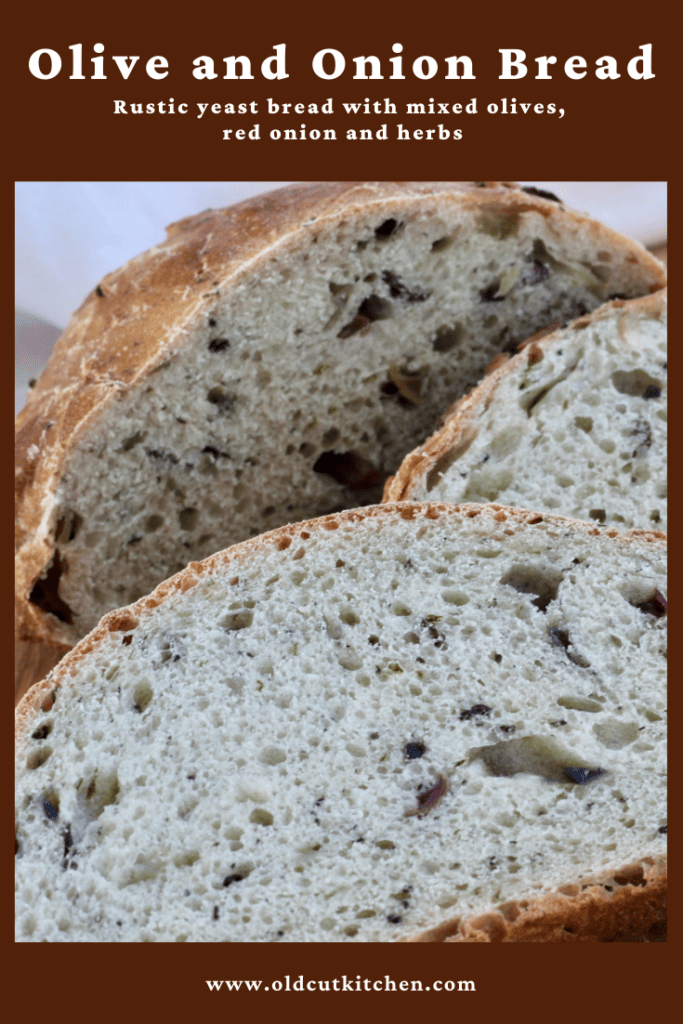
This rustic yeast bread is made with a mixture of chopped olives, red onions and fresh herbs. In spite of containing ingredients that might weigh it down, Olive and Onion Bread is not heavy and has an excellent texture. And, it’s one of the most popular recipes on Old Cut Kitchen!
I found a vintage Mediterranean cookbook in a little thrift shop. When I pulled it out, it literally fell open to the page with this recipe! I figured it was meant to be and worth the splurge so I paid the $2.00. I’ve made this bread so many times I’ve lost count but I never get tired of it.
Jump to Recipe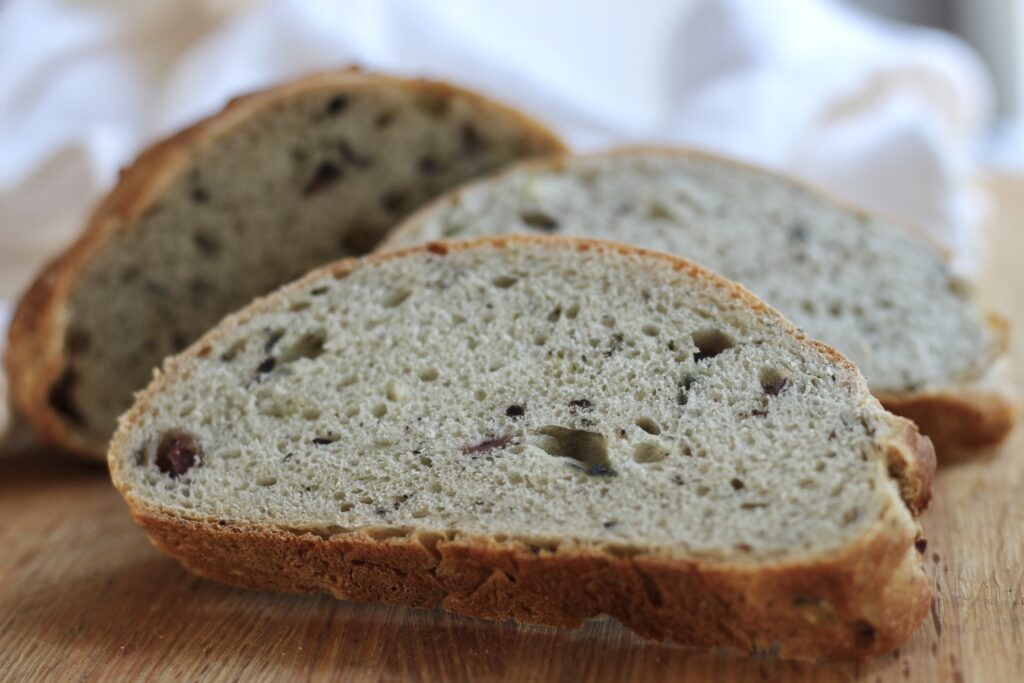
If you have a stand mixer with a dough hook you can make this. And other breads. Like French Baguette. If this is a little too ambitious for you, start with New York Times No Knead Bread. It’s an easy no knead bread recipe that requires no special equipment or skill. But if you’re up for making Olive and Onion Bread, here are a few things you need to know.
First, the yeast can’t be old. You only need 2 tsp so just buy one of those 3 packs if you’re new to bread making. Each envelope has more than 2 tsp so be sure to measure. And check the expiry date. Once you’ve mastered homemade bread you can go out and buy a jar of yeast.
Next, you may need more or less flour depending on factors such as the humidity, how much oil is in your olive mixture etc. When I make this bread I usually use the full 4 cups of flour and sometimes even more for dusting. I tend to measure by sifting first so that’s probably why. I recommend starting with 3 1/2 cups and adding more as it mixes until the dough is coming clean off the bowl. If it’s still sticking and you’ve already added 4 cups, go ahead and add some more.
Another important tip is to make sure your water is warm but not hot. You can actually kill yeast if the water is too hot. Alternatively, if it’s too cool, your dough may not rise properly or will take a lot longer. If you have a thermometer, use it the first few times to make sure the water temperature is correct. After that, you’ll have a good idea what it should feel like.
And time for rising can be all over the map. Depends on the weather and even your location in relation to sea level. Seriously. When I make Olive and Onion Bread I usually let it rise the first time for at least an hour, but usually 90 minutes or so. Then the second rising is about 45 minutes, then I preheat the oven.
I find the dough bakes perfectly on a baking stone such as a pizza stone. Heating it in advance gives you a nice bottom crust. And placing a pan of water under the bottom rack adds moisture which promotes a crispy exterior and soft interior.
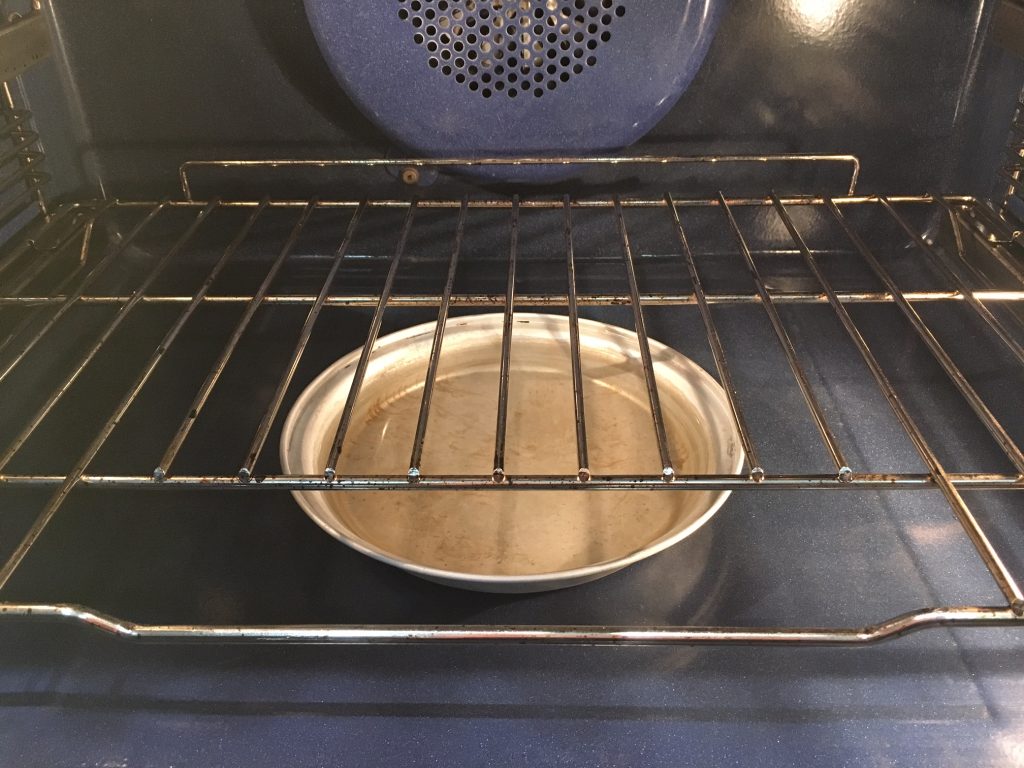
I only posted this picture so you can see my nice clean oven which doesn’t happen often! Use an old tin pie plate and put it in the very bottom of the oven before you preheat it.
And finally some talk about flour. Most recipes call for all purpose flour which is…well, just like it says, all purpose. It’s designed to be fairly generic so it works for all recipes. I use bread flour. The difference is basically that it has a slightly higher protein content and some science (bla bla bla) that gives it a bit more gluten so your finished product is slightly sturdier, holds up better. Maybe your crust is crustier. All purpose will be fine though. But if you think you will make bread a few times, get the bread flour.
How to make Olive and Onion Bread
Start by slicing a red onion in half and finely slicing it into half rings. Use either a small onion or half of a large one. Get an assortment of pitted olives and roughly chop them. Use the kind in oil, not the jarred type in brine. If your grocery store has the cart with different varieties of olives, that’s perfect, you can mix and match. I prefer a mixture of green and Kalamata.
Sauté the onions in olive oil until just soft then add the olives, give everything a quick stir and turn off the heat. Let the mixture cool slightly. Chop and add fresh herbs. Any combination of your choice is fine, for this loaf I’m using parsley and chives. I also like to use rosemary and sage. Mint and oregano is an authentic greek combo that works perfectly in this bread too.

Combine your flour, salt and yeast in a large bowl or stand mixture. Add the onion and olive mixture and combine. In most bread recipes you add the yeast to warm water and let it proof, meaning you wait until the yeast floats and gets foamy. In this recipe for Olive and Onion Bread the yeast is added dry to the flour.
If you’re using the stand mixer, use a low setting and a dough hook. I use speed #2. Pour in the warm water and mix until combined. Then continue on low for about 4-5 minutes or knead by hand on a floured surface about 10 minutes (or maybe longer) until the dough is no longer sticky and can maintain its shape. In the mixer it will become smoother and not stick to the bowl. You may need to add more flour if it is sticking. It’s done when the dough is coming cleanly off the bowl sides and the dough looks smooth on the outside.
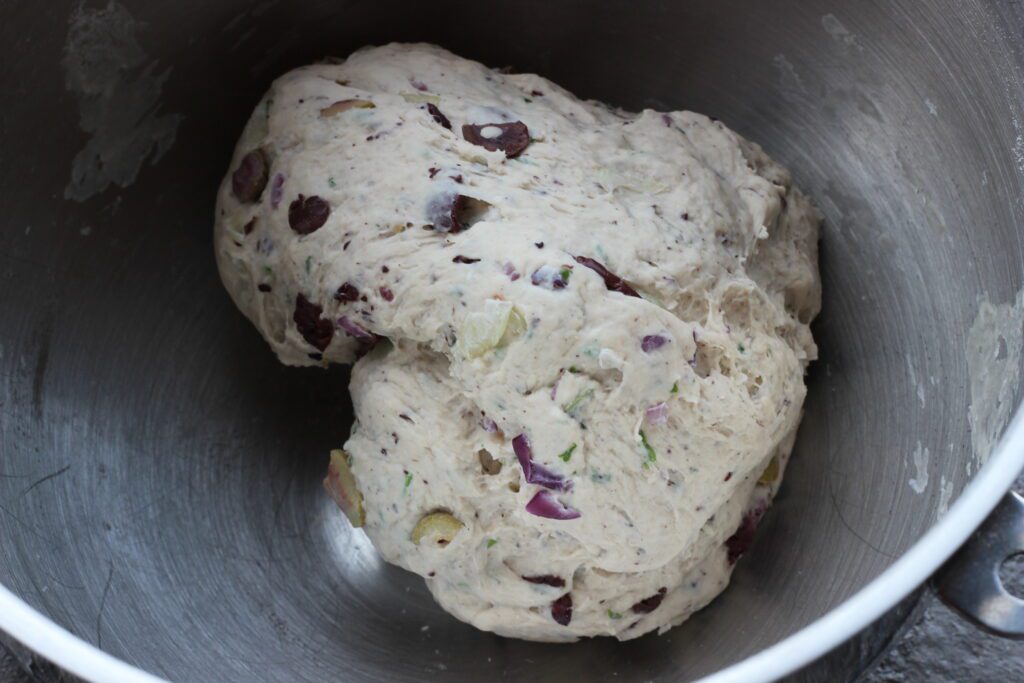
Remove the dough hook and drizzle a tiny bit of olive oil into the bowl. Roll the dough around so it forms a ball and is covered lightly with oil. Cover the bowl with plastic wrap and a towel and let rise until it’s doubled. This can take anywhere from 1 to 2 hours.
Hint: A good place to let dough rise is in the oven with the light on. There’s no draft and just enough heat from the light. Or on the stove top with the hood light on over top. Any more heat than that is too much. The microwave works too.
Once it has doubled, punch it down and knead a few times on a lightly floured surface to form a ball. It may spread out a little bit, that’s ok. At this point you can leave it as one large round loaf or cut in half and make 2 smaller loafs. I like to do it this way so we can eat one right away and freeze one. Or, even better, give one away as a gift. Give the plastic wrap you used to cover the bowl a spray or wipe of oil and use that to lightly cover the dough. Leave it to rise once more. This usually takes less time than the first rising.
When the bread has nearly doubled in size put a tin pie plate of water in the bottom of the oven (under the bottom rack) and preheat to 400 degrees. Put a pizza stone on the bottom rack to preheat as the oven heats up.
When the oven reaches 400, remove the plastic wrap from the dough and slash the top of the bread a few times with a very sharp knife. This prevents the bread top from splitting and rising unevenly during baking.
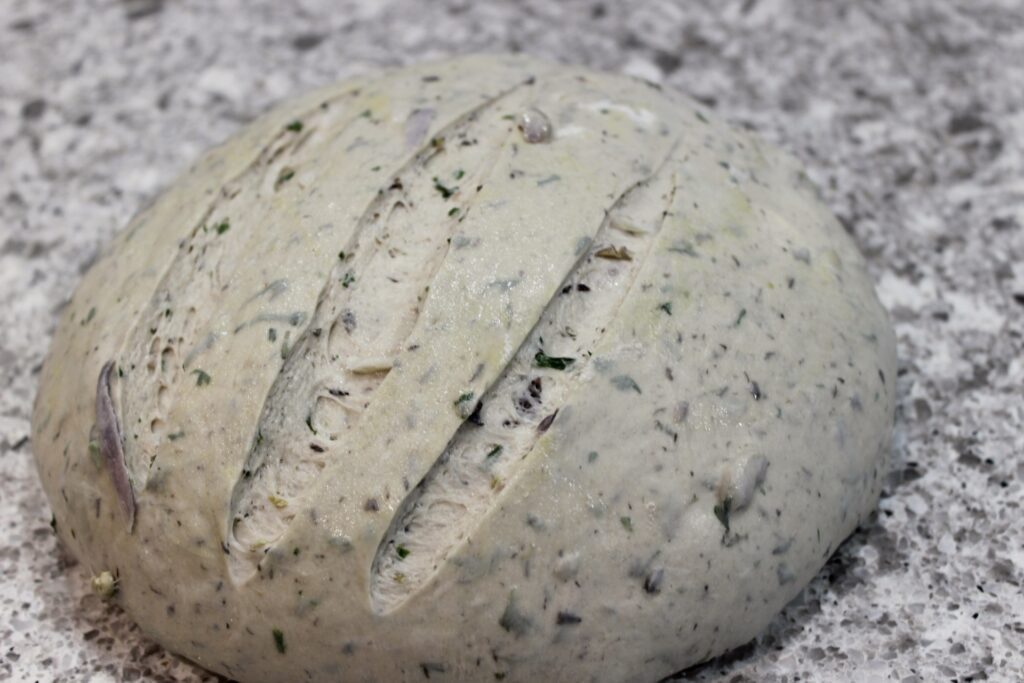
Carefully move the dough onto the hot stone. Don’t worry if it loses its shape a bit, you can try to adjust it quickly but you don’t want to let too much heat out of the oven. This is probably the trickiest part of the entire process. Smaller loafs are much easier to move onto the stone. The dough is soft and large so not as easy to handle. If you have a large peel (spatula) for pizza you could use that to slide the dough into the oven. But that isn’t as easy as it sounds. If you don’t have a stone, bake on an oiled baking sheet but don’t heat it up in advance.
Bake at 400 for 35-40 minutes. I find using a hot stone shortens the cooking time by a little bit. It may only need 30-35 minutes. Two smaller loaves will take about 30 minutes. When the bread is well browned and thumps sounding hollow when you tap it, it’s done! You can see my pizza stone is well loved.
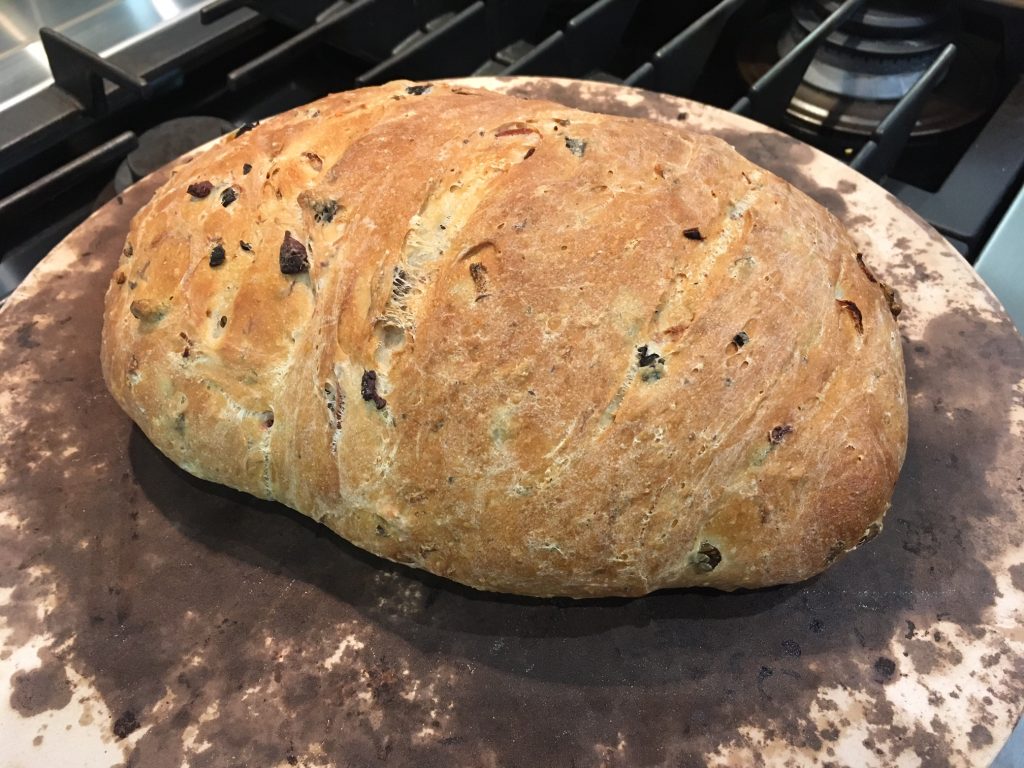
Remove from the stone to cool. Make sure you cool the Olive and Onion Bread on a rack so the bottom crust doesn’t get soggy from the steam exiting the warm bread.
We took this to our friends Dianne and Wayne’s place for dinner.
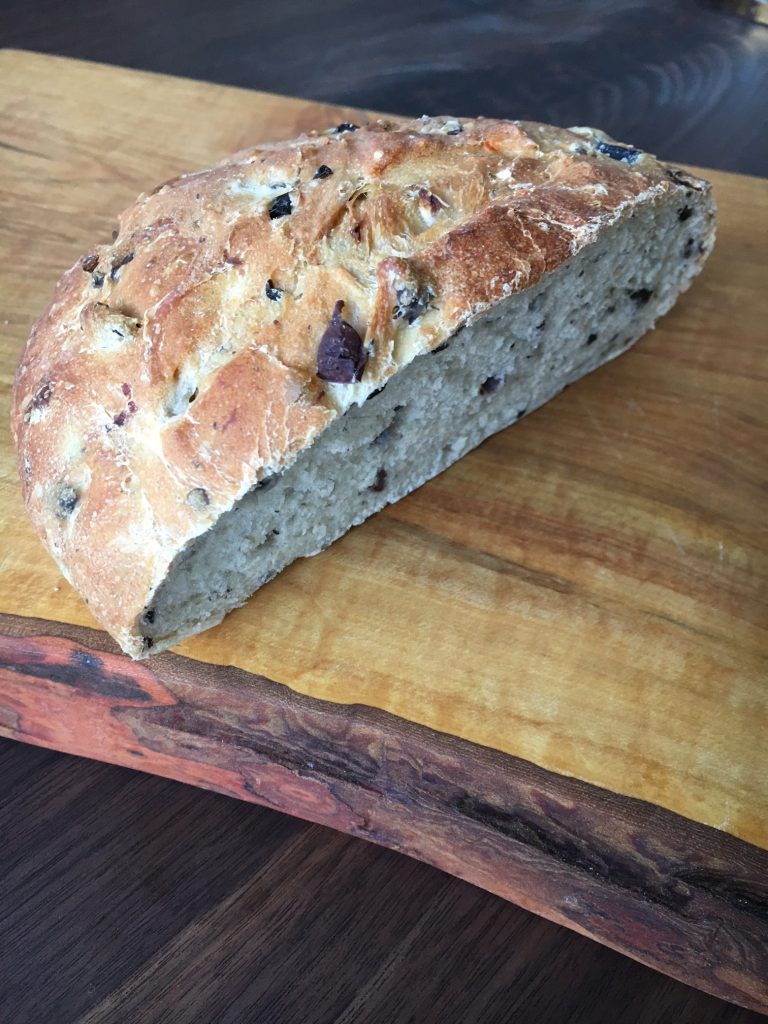
Here’s the recipe:
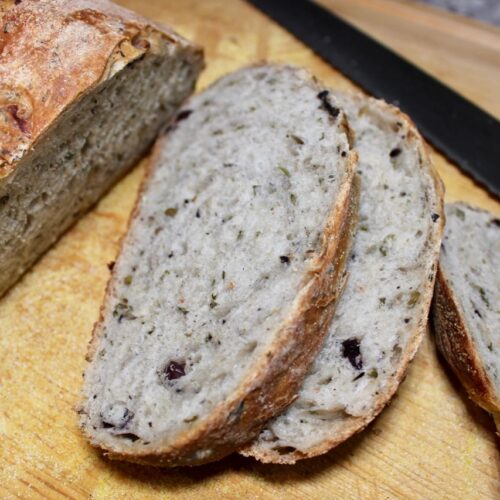
Olive and Onion Bread
Ingredients
- 1 medium red onion
- 3/4 cup mixed pitted olives in oil
- 1/3 cup fresh chopped herbs
- 2 Tbsp extra virgin olive oil plus more for drizzling
- 2 tsp course salt
- 3 1/2 cups bread flour, up to 4 cups if necessary plus more for kneading, increase slightly if using all purpose flour
- 2 tsp yeast
- 1 cup fairly warm water 110 degrees fahrenheit
Instructions
- Cut onion in half and slice thinly. Saute in olive oil over medium-low heat until just softened.
- Coursley chop olives and add to onion mixture. Remove from heat and allow to cool slightly. Stir in fresh chopped herbs.
- In bowl of stand mixer with a dough hook, combine flour, salt and yeast. Add olive and onion mixture and combine. Add warm water all at once and start mixer at speed 2 and knead for about 3 minutes. If the dough continues to be sticky and is not coming away from the bowl clean, add more flour in small amounts until dough holds its shape and bowl edges are clean.
- Continue to knead for about 1-2 more minutes until dough looks smooth.
- Remove dough hook and drizzle olive oil over dough and roll around until dough is the shape of a ball and covered with oil. Cover the bowl with plastic wrap and a towel. Leave to rise in a warm place until dough has doubled in size.
- Remove plastic wrap. Reserve wrap to cover the shaped dough. Punch dough down to remove air bubbles and gently knead on a lightly floured surface to form a ball. Cover with the reserved plastic wrap that has been sprayed or wiped with oil.
- When dough is almost doubled in size again, place an oven safe pan of water in the bottom of the oven, below the bottom rack. Place a baking stone on the lowest rack of the oven and preheat to 400 degrees. When oven is ready, carefully remove the plastic wrap and slash the dough across the top in 2 or 3 lines with a very sharp knife.
- Very carefully lift the dough and place on the hot stone. If you aren't using a stone, bake on an oiled baking sheet that has NOT been preheated.
- Bake for approximately 35-40 minutes. Using a stone my reduce cooking time slightly. Bread is ready with well browned and makes a hollow sound when tapped.
- Remove bread from stone or baking sheet to cool on a rack.

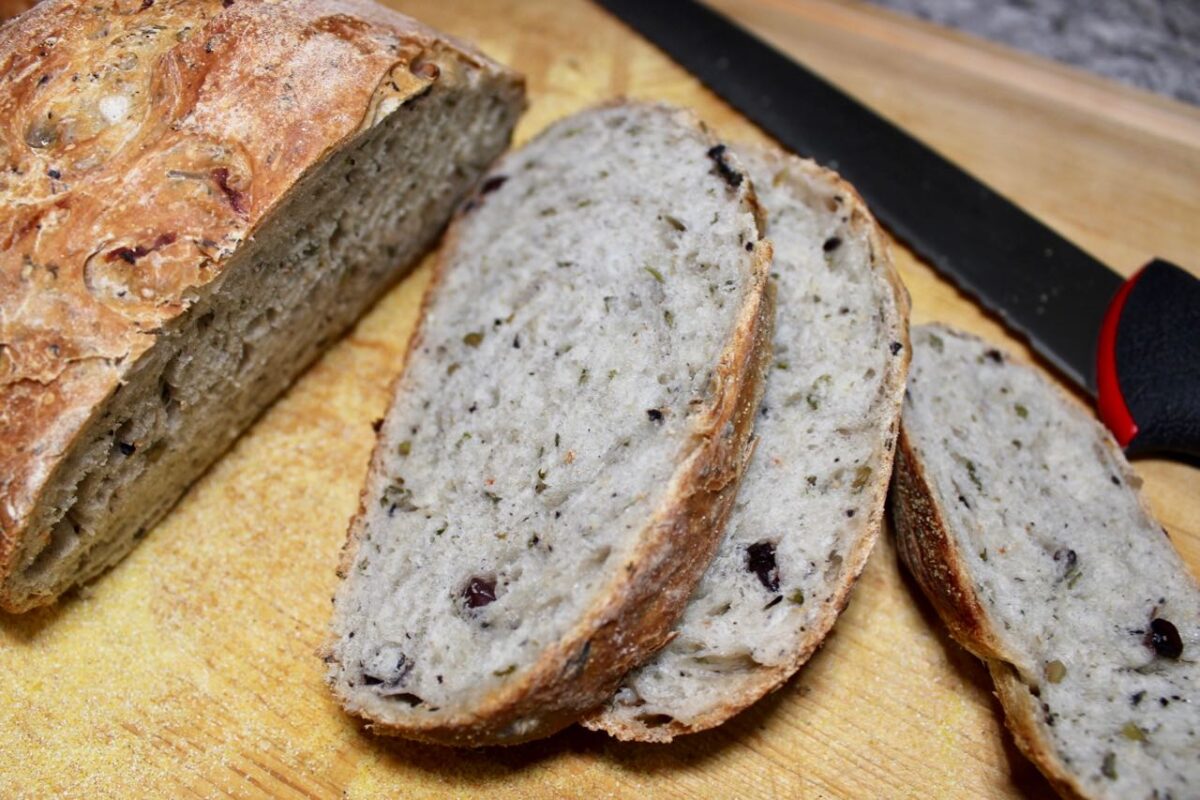
We followed the instructions and came out great.
That’s awesome, thanks!
Mine came out flat? Not sure what I did wrong? I followed all the direction and it did rise twice.
Oh no. Sometimes bread can be a real mystery. There are a number of things that can affect rising, mainly old yeast or water being too hot which can kill the yeast.
But since your dough did rise I have a couple thoughts. If you use quick rise yeast instead of regular, sometimes all the rising happens at the beginning and there’s nothing left for baking.
Or, believe it or not you can over rise dough so if that happens the dough won’t rise well during baking.
One final thought, measuring flour can be all over the map. You could have 5 people all measure 2 cups of flour and if you weighed the flour you’d have differences in the amount. If your dough is a little light on the flour it can spread out while baking. Also an oven temp that’s not hot enough can cause trouble.
Sorry, that’s a lot of info but not one perfect answer. Hopefully you try it again and it works out for you. It really is an excellent bread recipe!
Just found your website and am so glad!! So many great recipes…can’t wait to try this for the next spaghetti feast! One thought on transferring the loaf to the oven…would placing it on parchment paper after forming the loaf for the second rise be okay? I’ve seen this trick elsewhere, and it seems to work well for not “disturbing” the loaf once it’s ready to bake.
Yes! My friend Marilyn makes hers this way and they turn out great!
Good recipe,turned out well. Bread was delicious!
Thank you!
Hi Marci! I’m an Ontarian too … we live in Bronte near the lake, and I’m just learning to bake bread. What a joy! I can’t wait to make your wonderful Olive and Onion bread. A quick question: Instead of using the pizza stone, could I pre-heat my cast iron Dutch Oven to the required temperature and bake the loaf in that, say, covered for 30 minutes, uncovered for 15? I look forward to your response.
Thanks for your great recipes!
Dawn
Hi Dawn,
Bronte is a beautiful area! Lucky you.
I haven’t baked this bread in a dutch oven but I’ve baked other loafs and they come out great. I’m sure it would work. Please let me know if you try it and how it turns out.
You can also use a baking sheet but I think the dutch oven would be better!
Marci
Hi Marci … yes, your lovely recipe turned out perfectly in a Dutch Oven! I followed your instructions up to #7, except I placed the dough ball in a round bowl lined with parchment to wait for the oven to heat. Placed my DO in the cold oven and set the temp to 450. When at temp, I carefully removed the hot DO and lowered in the dough in its parchment “cradle.” Immediately lowered the oven to 400, baked the loaf covered for 30 minutes, then took off the DO lid and baked uncovered for another 15. Let it cool for a full hour before slicing.
Thank you for this SUPER recipe, Marci.
Best regards,
Dawn
Thank you Dawn for following up! I was hoping you would. Great to know the Dutch Oven worked. I can’t believe you waited a full hour before slicing, haha. That’s the hardest part!
Marci
Loved this recipe. Bread came out fantastic. I added walnuts and it was delicious. Just wondering if I want to use half whole wheat flour would this work??
Thanks
Hi Carole,
You can substitute some whole wheat flour for regular. The ratio depends on the type of whole wheat flour (you can now get white whole wheat so it’s ground quite fine). I haven’t tried it with this bread but in other baking I usually try to stay around 1/3 ww to 2/3 white. Also, ww flour absorbs more liquid than ap or bread flour so you might have to increase the amount of water. I’m all for experimenting so if you give it a shot, let me know how it works out!
Also, I often refer to the King Arthur Baking website that has lots of awesome info and they’ve done some experimenting for you so you can see the different results. They did mention that since bread has a resting and rising stage, unlike muffins etc, the ww flour has a chance to absorb some of the liquid so you don’t end up with heavy bread.
I might have to try some myself now that you’ve got me curious.
Thanks Marci. I made it for a friend with ww. I substituted 1 1/2 c of ww and used 2 c of bread flour. Will see what they say. It looked great. I made two loaves and kept one the way you published it. Love it!!!
I made the bread using a purple radish shredded into the dough and also molasses for more flavor.
I held back on the olives till the dough was risen and then folded them into the dough after the first rise.
Everything worked. The bread is fantastic with avocado. Stay well and healthy
Wow, thanks for that interesting variation. Very creative! I love avocado on bread too.
This bread is excellent, the texture is beautiful and the taste was excellent
Thanks! I’m so glad you tried the recipe. It’s one of my all time favourite bread recipes for sure. Maybe THE favourite!
I also had issues with this recipe. For one thing, the commentary and the recipe don’t synch. Is it 3 minutes or 5 minutes of kneading? I added the full four cups of flour and a bit more because it never became a non-sticky dough. I used 1 cup bread flour and the rest all-purpose but I have never seen this issue with all purpose.
The only other thing I changed was I added jarred olives in water (water removed) not oil.
I finally gave up and let it rise. It rose well but never became un-sticky. As a result, the eventual bread is full of holes and looks well formed but it’s only about an inch high. 🙁 It tastes good so I would love to try this again more successfully.
Any thoughts on how to fix this?
Thanks for checking about the kneading time. In the recipe instructions it does say 3 minutes then to continue another minute or 2 kneading. I did reword it to ensure it’s clear in the body of the post. Kneading time can vary but shouldn’t take more than 5 minutes using a stand mixer on #2 speed.
I’ve had bread turn out perfectly and then making it exactly the same the next time it won’t rise as much or takes longer to rise. It’s a mystery sometimes, depends on your latitude, temperature, humidity, what colour shirt you’re wearing, haha.
Sometimes you need a bit more flour if you’re using all purpose. I don’t think combining the 2 types of flour would cause an issue.
Holes in the bread can be caused by a number of things such as too much flour, too much yeast, not punching down the dough well enough after rising. You could research all day and get 100 answers.
I don’t think using jarred olives would cause an issue. You did say you drained them well so you wouldn’t have had too much liquid. Perhaps the acidity was a problem?
I hope you do try the recipe again and get better results. It does taste good!
If you try again, use oily olives, make sure you give the dough a few minutes of kneading after adding extra flour if it’s not coming clean off the bowl. Maybe try bread flour and see if you get better results.
Did you use quick rise yeast? Sometimes that causes a fast rise, then loses it’s rising capability when it’s time to bake. I use regular yeast.
I’d love to hear back from you if you try another loaf.
Thanks for your comment!
I used the standard yeast and, as I said, in the rising steps it looked good but the bowl was giving it form. It’s when it needed to stay up on it’s own that it wasn’t sufficient.
If I try this again, if it is still sticky I will try more flour. I think I was too timid.
Thanks for the suggestions.
Beautiful and delicious. Recipe was perfect. I added sun dried tomatoes, TJ 21 seas’ salute, pepper, and parm on top after cutting.
Yum, that sounds great! I like the idea of sun dried tomatoes, I’ll have to try that! Thanks for the comment.