
For those of you who are new to home canning, Dill Pickles are, in my opinion, the easiest pickles to make. The brine is simple, the method is simple and there’s not much that can go wrong. But a few tips and tricks will definitely help so read on if you’re thinking of making the pickle plunge.
Like I said, there isn’t a lot involved in making your own Dill Pickles. And since they’re one of the most popular pickles to eat it’s a good place to start. If you look up recipes you’ll quickly find out that they’re all fairly similar. This is a bit of a long read but there’s some good info here that really helped me over the years through my learning process. Then next time you visit, just Jump to Recipe and you’ll be good to go!
But, two things we don’t want to mess with: tried and true recipes passed down for generations. And science.
My Dill Pickle recipe is from my mom who got it from her mom who got it from her mom….you get the picture. However, it has been tweaked over the years, most recently with my mom reducing the salt a bit and adding garlic which my great grandmother Cora didn’t use. I can’t be sure of this but I’m guessing it’s only because they didn’t grow their own garlic. Most meals we had on the farm were all home grown.
Now for the science part. Basically, its a chemical reaction between the acid in the vinegar and the naturally occurring acid in the food, together with the salt, that slowly transforms and preserves your cucumbers. You’ll actually see air bubbles coming out of the cucumbers after a while which means the carbon dioxide is being released from the cucumbers and the acid is doing its job.
What is in pickle brine?
You can buy regular white vinegar or pickling vinegar which is actually 7% acetic acid instead of the normal 5%. I kind of like that extra pucker it gives. Anything under 5% is probably not safe for this recipe, and anything over 7% would be too much. So if you don’t have pickling vinegar you’ll be fine with regular white vinegar.
The salt in the brine needs to be pickling salt or kosher salt. Not just because it’s courser so the measurement would be off. Table salt contains an ingredient that prevents it from caking, and that will make your brine cloudy.
Finally, the water is just tap water. But if you have really hard water at home, well, you’re lucky because it tastes better than treated water but it does contain calcium which would affect the turbidity of the brine. Turbidity, that’s a $5 word! It just means cloudiness. To prevent that from happening, measure out the water the night before (in fact measure out a little more than you need), leave it to sit, then pour off the clear water from the top. Any residue will be left behind in the bottom.
Are pickling cucumbers different than regular cucumbers?
Yes they are. Pickling cucumbers aren’t just smaller cucumbers, they’re actually grown specifically for pickling and have a thicker skin which helps maintain that crunch. They come in 3 sizes with number 1 being the smallest and number 3 being the largest. It really doesn’t matter which size you use but I like to use the smaller ones for full pickles and the larger ones if I’m slicing or cutting them for other kinds of pickles.
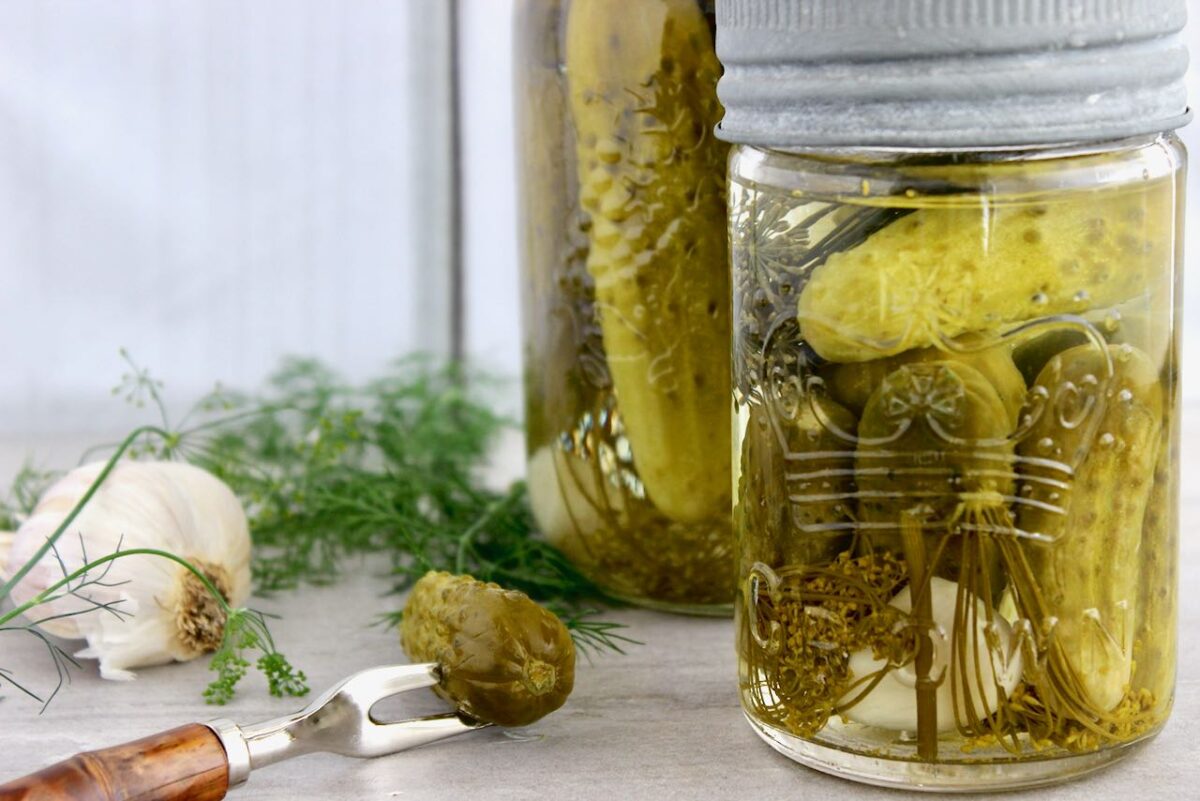
It just so happens that cucumbers and dill are at their peak at the same time of year. I think mother nature intended us to make Dill Pickles. When I say dill, I mean the full dill plants that look like weeds with large tops and dill seeds. You can make pickles with the soft young dill fronds you find in the spring but the dill flavour isn’t as intense. But don’t let that be a deal breaker. You can add dill seeds and even use the same recipe and method and pickle something else, like green beans. (I do!) Or Pickled Asparagus.
How to make Dill Pickles
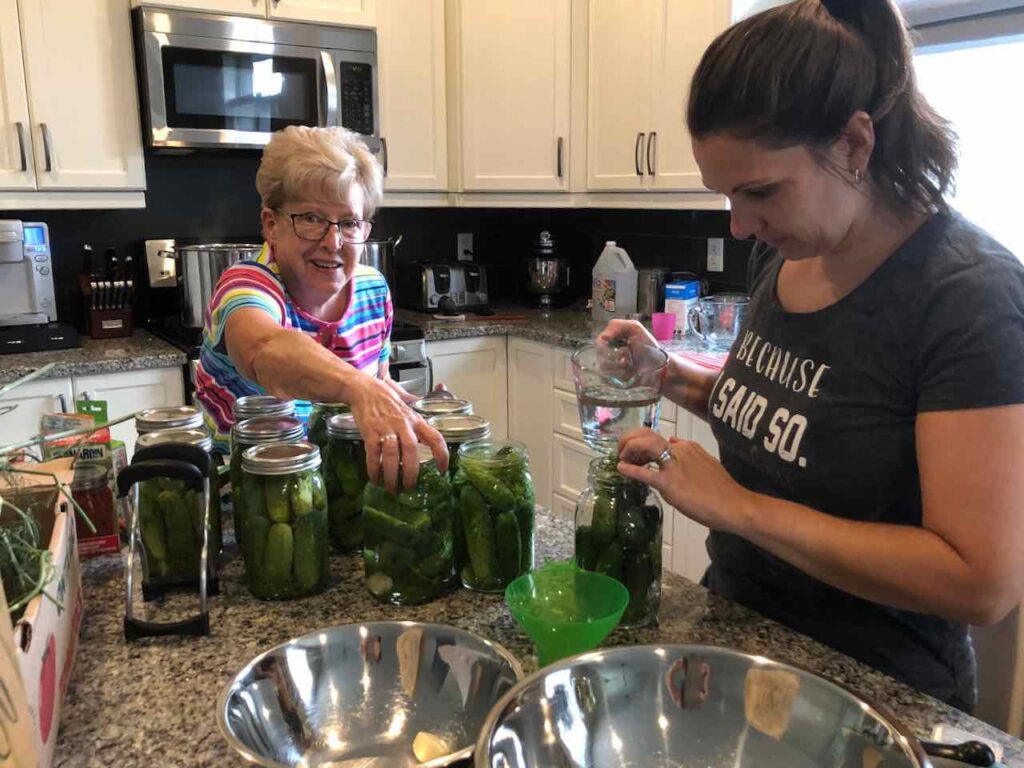
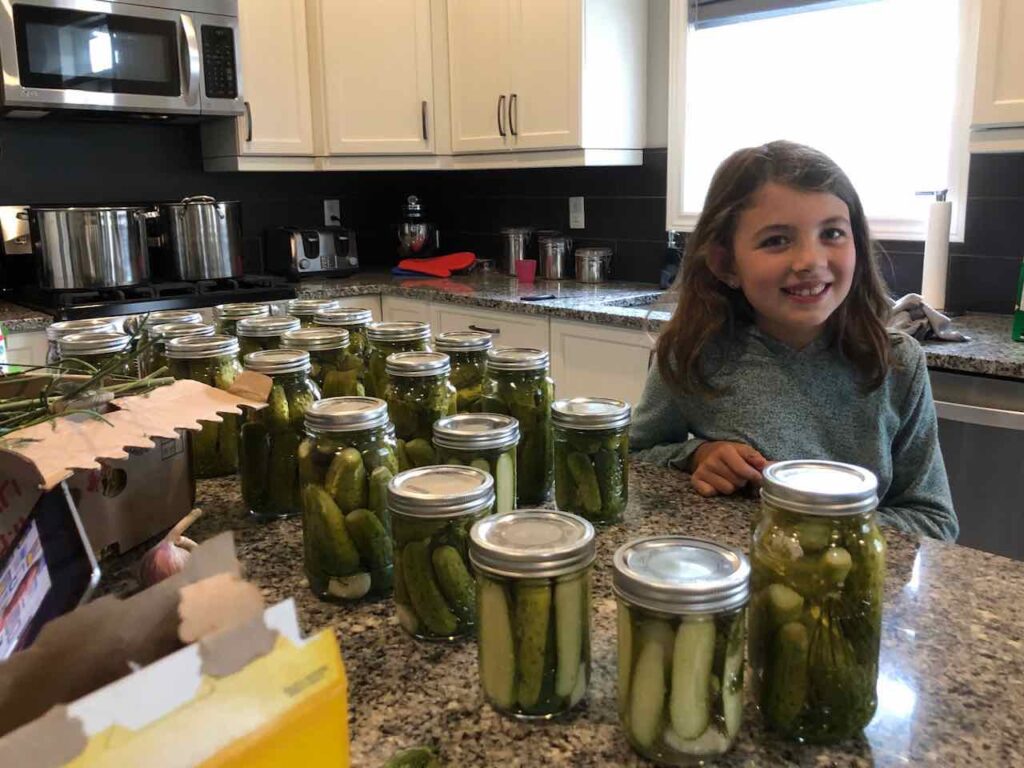
There’s no prep to be done the day before making Dill Pickles, unlike some other types. Many people make pickles in large batches together with friends or family. It’s a great way to share the work and the reward. So, gather up some friends or family and have a pickle making day! Here’s my mom, the expert pickle maker, teaching her granddaughter and great granddaughter how to make dills. Yes, she’s a GG, can you believe it?
Always start with clean hot jars. The easiest way to do this is to run them through a cycle in the dishwasher. Plan the cycle to end about the time you’re ready to pack the jars. While they’re washing, give the cucumbers a bath. They aren’t usually dirty but give them a good rinse and lay them on a towel to dry.
A few years ago I read about a trick that helps ensure your pickles stay crunchy. There’s an enzyme that lives at the flower end of the cucumber that can cause the pickle to get soft. If you slice a thin strip off the flower end it helps prevent that from happening. Typically the flower end is narrower and lighter with a brown circle. The stem end is usually darker green with a rough area.
Sounds like a make work project but I’ve been doing this with pickles lately and compared to previous years that didn’t have the end cut off, I’m happy to report that I haven’t had any soggy limp pickles.
Peel one clove of garlic for each jar you’re making. If your garlic is huge, you can cut the clove in half but if you’re using large jars it’s ok to have a big clove. Snip off 2 dill tops for each jar. One goes in the bottom before packing the cucumbers, then one goes on top. If the dill tops are huge, you can break them in half.
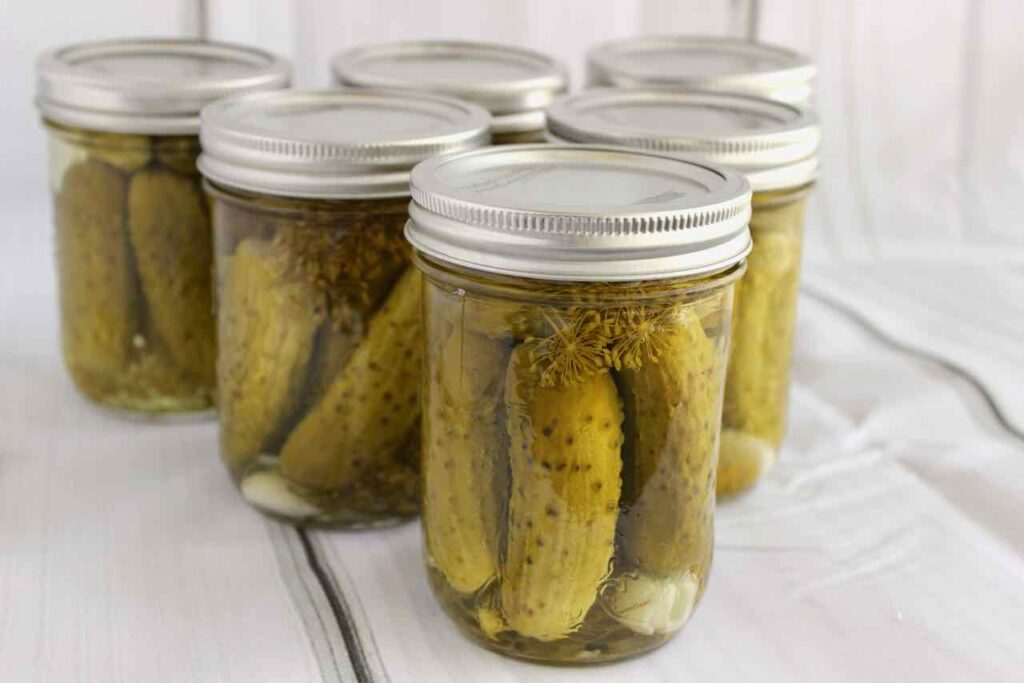
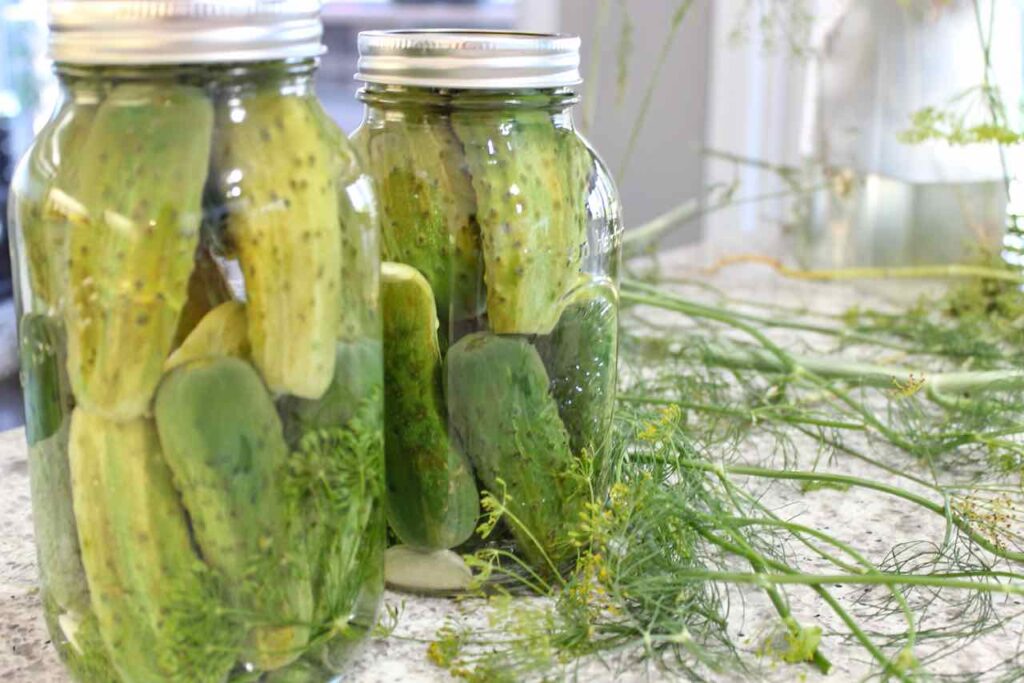
Pack the cucumbers in hot jars, getting them fairly tightly packed. You might read that you must make sure they don’t float above the brine, however, the cucumbers shrink soon after the hot brine is poured over them and even shrink a bit more as they cure. And, since you have to leave a small air space at the top of each jar, there’s no way to avoid the pickles from floating up. Honestly, I’ve tried, and in spite of a small area of pickle exposed at the top of the jar, they’re still great.
Sprinkle a bit of alum on top of each jar before putting on the lids. Alum is a chemical compound found in the spice section that helps pickles maintain a good crunch. Then pour very hot brine into the jars, leaving a little bit of space at the top. Somewhere around 1/4 inch. The pickles start changing colour soon after adding the hot brine.
Always use new seals when making pickles. The rings can be reused if they’re not dented or rusty but the seals should be new. Heat them quickly, give the lip of the jars a wipe to ensure there’s no dill bits or anything that will interfere with a good seal, then top the jars and tighten the lids. Not too tight. I have noticed recently that seal manufactures are now recommended not to heat them as the rubber can get damaged and not seal properly. I just warm them quickly in the water that’s heating in the canner pot.
Do you have to process Dill Pickles?
The right answer is yes. But, between you and me, I don’t always process the jars. My mom, an expert pickle maker, was asked recently if she processed her pickles. She said she never has and hasn’t killed anyone. She’s been making pickles for (insert large number here) years and says she’s not going to start either. Mom’s theory is that there’s vinegar and salt in the jars that preserves them just fine and as long as the brine is hot and the lids are heated and sealed, they’re good to go. This, from a person who lived on a farm where a big crock of sauerkraut was kept on the porch for months. So who’s to argue with her? But, just to be clear, I’m not telling you to NOT process them. OK?
To process, lower the sealed jars into a large canner pot in a rack so they’re covered completely with water, then boil for anywhere from 8-15 minutes depending on the size of jars you’ve used. This will help get rid of any bacteria and it also helps speed up the sealing of the jars. They ‘pop’ quickly after they’re out of the pot, guaranteeing they’re sealed properly.
If you don’t have a canner pot you can use any large pot and place a dish cloth on the bottom just to prevent the jars from resting right on the high heat source. You’ll need water proof oven mitts to get them out though. And, if you’ve used taller jars and they aren’t completely covered with water it’s ok, as long as the water is boiling and the lid is on, the steam should do the trick too.
How long until the pickles are ready to eat?
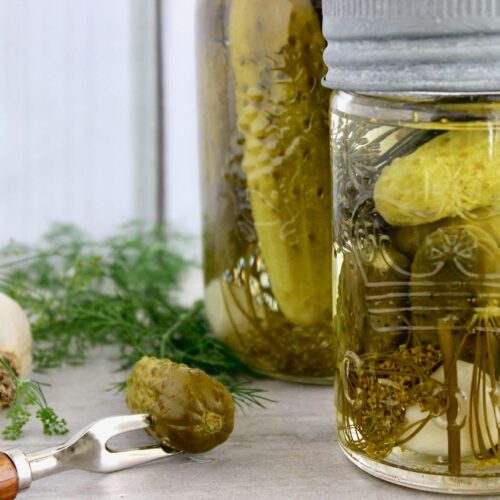
You need to wait at least 6 weeks to open the pickles. If your cucumbers are pretty small, 3-4 weeks is good, but if you’re using larger ones, you should wait up to 6 weeks, just to ensure they’re well preserved. There’s no harm in opening and jar and trying some. If they don’t seem too “pickly” just refrigerate them and leave them a few more weeks and try again.
If you’re feeling confident about making Dill Pickles, feel free to personalize them. My mom likes to add a hot pepper to hers. This year for the first time I made a few jars of thinly sliced dills for burgers. They turned out great!
Looking to try sweet pickles? Check out this post for Bread and Butter Pickles.
If you try making your own Dill Pickles, consider leaving a comment or rating below. Here’s the recipe:
Dill Pickles
Equipment
- 6-8 canning jars with lids, new seals
- Large canner pot with rack or regular large cooking pot
Ingredients
- 6 quart basket of cucumbers
- 10 cups water
- 6 cups pickling vinegar (7% acidity) or 6 ½ cups vinegar 5% white vinegar
- ¾ cup pickling salt table salt will result in cloudy pickles
- 1 head garlic with at least 6-8 cloves
- 1 large dill plant with at least 12-16 heads
- 2 tsp alum ¼ tsp per jar
Instructions
- Rinse cucumbers to remove any debris, lay on towel to dry.
- Slice a thin strip off the flower end of each cucumber if desired, to help keep them crunchy.
- Gather all your equipment and fill a large canner pot with water, leaving enough room for increase in level as you lower jars in. Start bringing to boil as it takes a while for that amount of water.
- Combine vinegar, water and salt in large pot and bring to a boil.
- Start with clean hot jars. Place a head of dill and a clove of garlic in the bottom of each jar. Pack tightly with as many cucumbers as possible. Add a second head of dill to the top of each jar and add ¼ tsp of alum.
- Pour boiling brine carefully into each jar, leaving a headspace of about ¼ inch. Wipe rims of jars and ensure no dill is hanging over.
- Warm seals in canner pot just for a few seconds, then place on jars. Cover with rings and tighten by hand, not too tightly.
- Boil jars in large canner pot, about 8 minutes for medium sized jars, up to 15 if using large jars.
- Remove from water and let sit at room temperature to cool. Lids will pop as they seal. The seal will be indented if sealed properly. Any jars that don't seal should be stored in the refrigerator.
- Allow to cure for at least 3 weeks for smaller pickles, up to 6 weeks for larger, before opening. Will last in the pantry for at least a year.
I loved how you included so much about your Mom as the expert pickle maker in this post.
Aw thanks. Yes, these family times are special and I hope the recipe continues to be passed down!
I tried this recipe for spears today. Should we still let them brine for 3-6 weeks before trying them?
For cut pieces of cucumber like spears or slices they do still need some time but not as much as whole cucumbers. I would try to wait at least a few weeks so they have time to develop a good flavour. I know it’s tempting to open a jar right away!
love the recipe, going to try it for the first time this weekend.
Can you use tartar to keep/ make it crunchy?
I haven’t ever tried cream of tartar in pickles. I do use a tiny bit of alum but I’ve also made dill pickles without alum and I’m not sure if there is really any difference. I’d love to hear your thoughts if you try it. The only way to really know is if you make some jars with and some without, using the exact same batch of cucumbers and brine. Then open one of each jar after about 6 weeks at exactly the same time and have a sample.