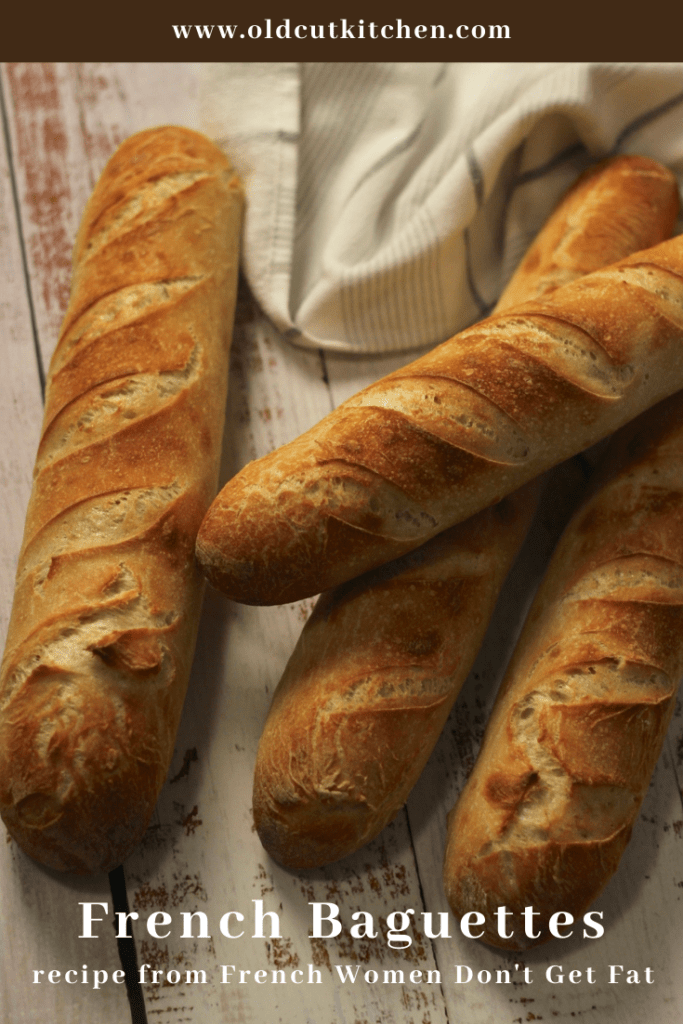
This recipe came from a book called French Women Don’t Get Fat. I’m not sure if that’s true or not but the Baguette recipe was worth the price of the book. I make French Baguettes often and this recipe is a winner.
I think bread has a bad rap. Yes, some people can’t eat it. I’m sad for those people. But who can resist a warm loaf of freshly baked bread? Not me! If you haven’t ever made bread you might be thinking there’s some skill involved or secret method. The truth is dough is pretty forgiving. And for the price of a few cups of flour and some yeast, it’s worth a try.
Jump to Recipe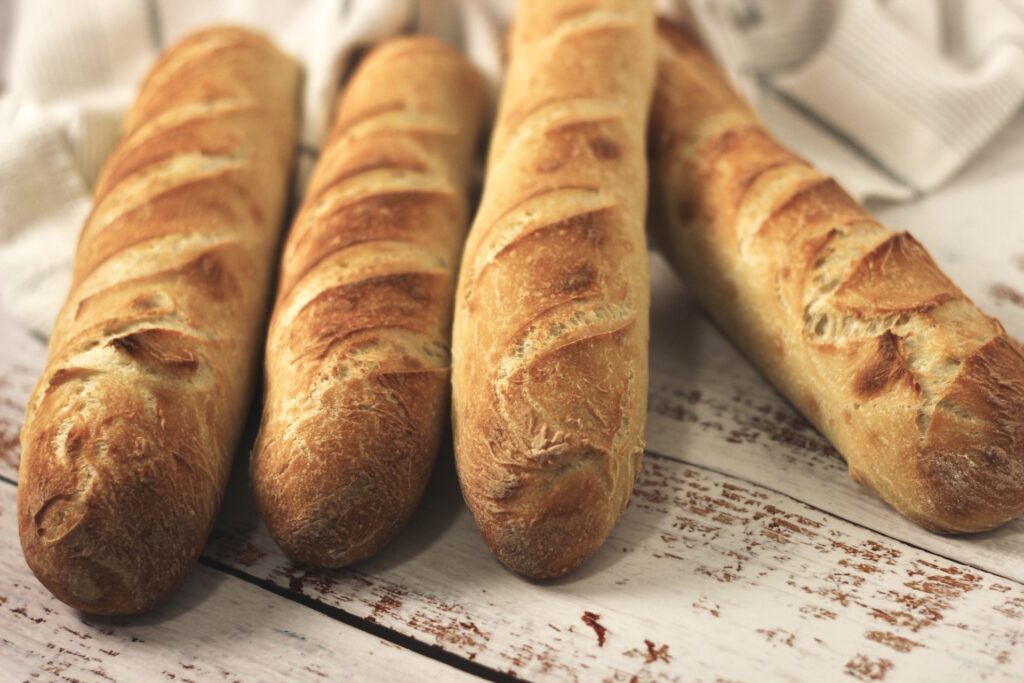
If you have a stand mixer, all the work is done for you. If not, just roll up your sleeves and give it a go!
Maybe you don’t think you’re ready for bread making at this level. Many people have told me they’ve tried this recipe and it worked out great. Still not convinced? Try New York Times No Knead Bread which is super easy and doesn’t require any special skill or equipment.
How to make homemade Baguettes
Start by proofing the yeast in some warm water. What that means is the yeast will foam up to confirm it’s “alive.” If your water is too hot it may “kill” the yeast so the temperature should be around 110-115 degrees.
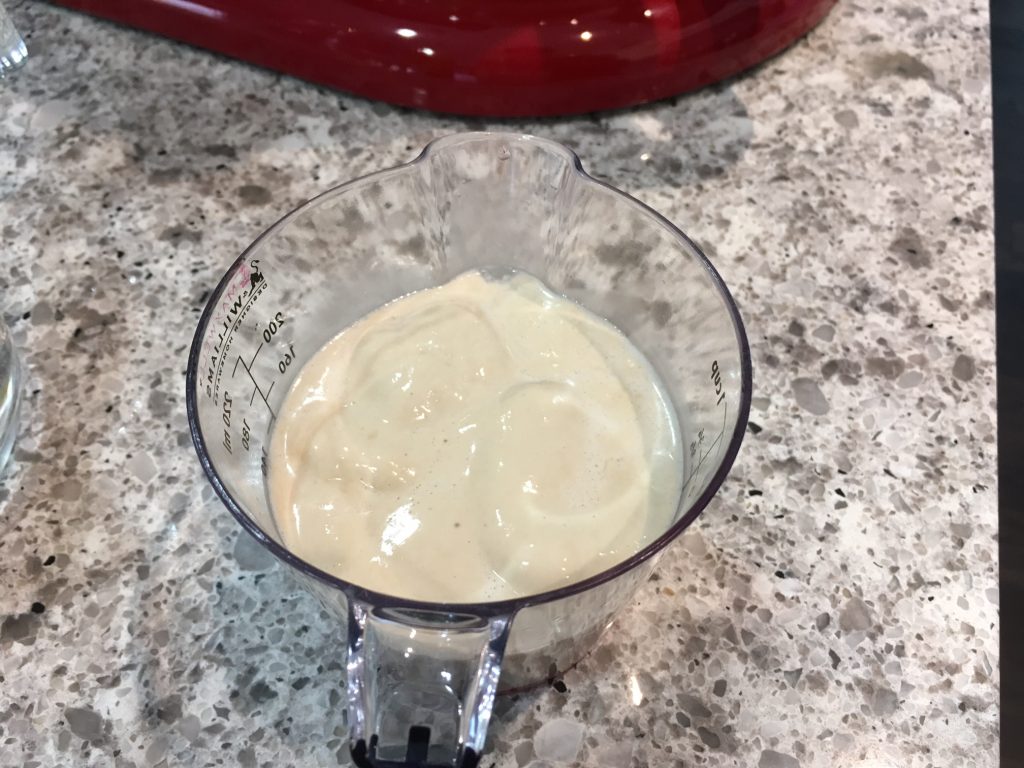
So what if it doesn’t foam up? That has happened to me with fresh yeast but I used it anyway and the bread turned out perfectly fine.
Combine the flour and salt in the bowl of a stand mixer. If you don’t have kosher salt, use a course salt like sea salt. If you only have table salt reduce the amount by half. Then add the yeast mixture once it’s foamy, along with the rest of the warm water. Knead it with the dough hook on a low speed for about 3-5 minutes. I use speed setting #2. By hand you knead it for 5 – 10 minutes on a floured surface.
If the dough is sticking to the bowl after kneading for a few minutes, it needs more flour. The recipe calls for 4-5 cups of flour which is quite a range. Start with just over 4 cups and add in small amounts until the dough starts staying together and not sticking to the bowl. You may also use bread flour which has a slightly higher gluten level. If you do, you won’t need as much flour as all purpose flour because the bread flour absorbs a bit more liquid.
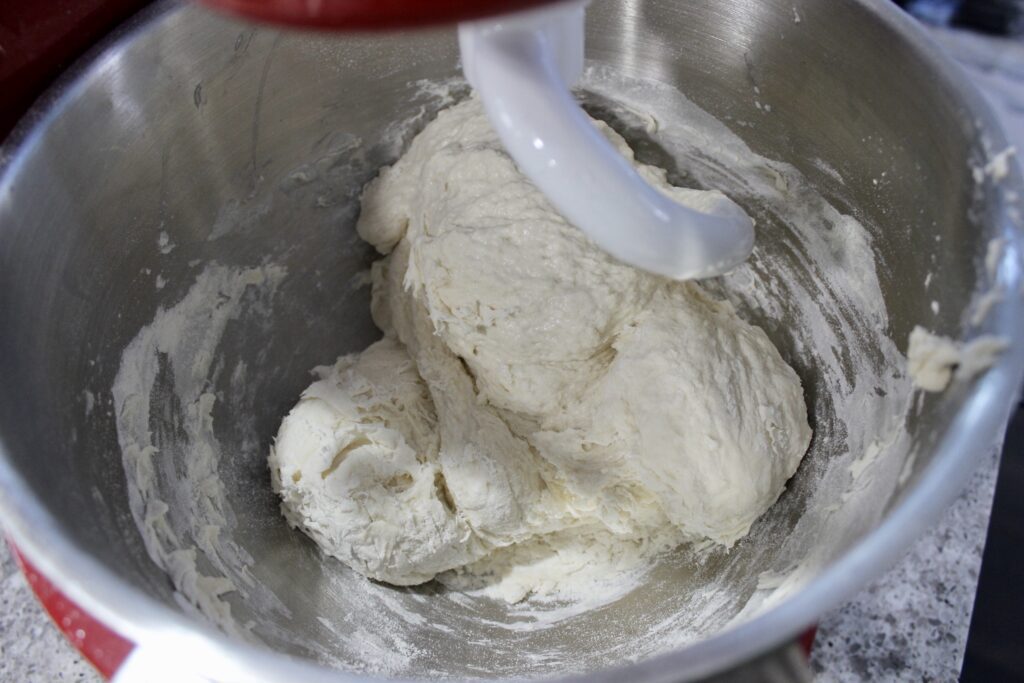
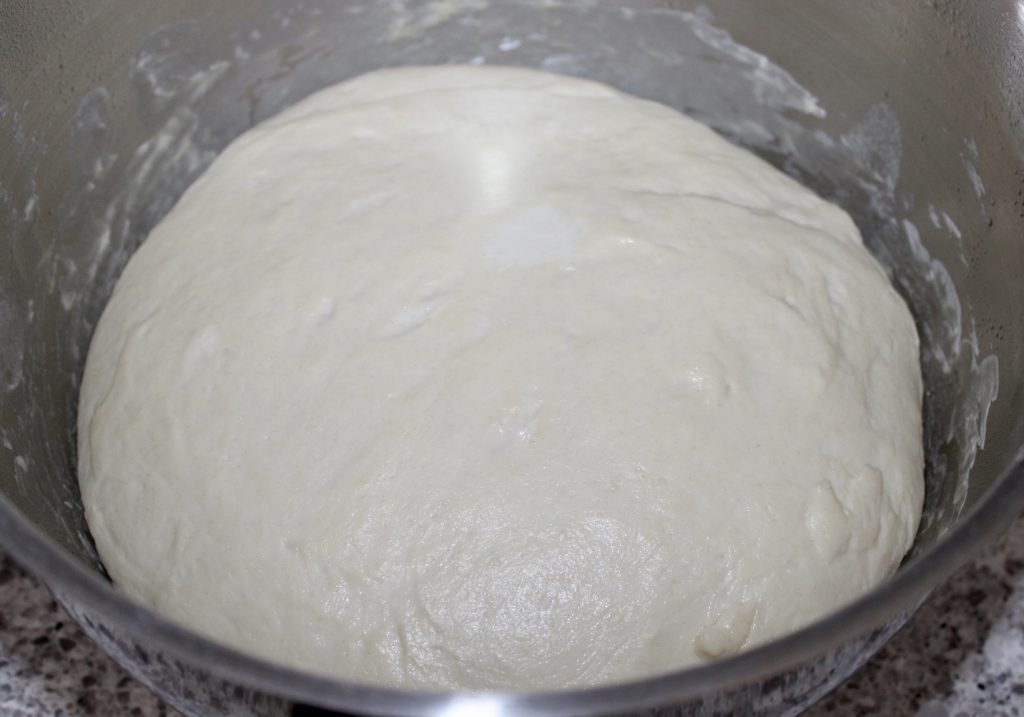
The amount of flour can vary depending on factors such as humidity, how well it’s sifted and just plain randomness. In most cases I use pretty much all of the 5 cups of flour. The baguette dough looks fairly shaggy at first but when it stops sticking to the bowl and has a smooth surface, it’s ready to rise.
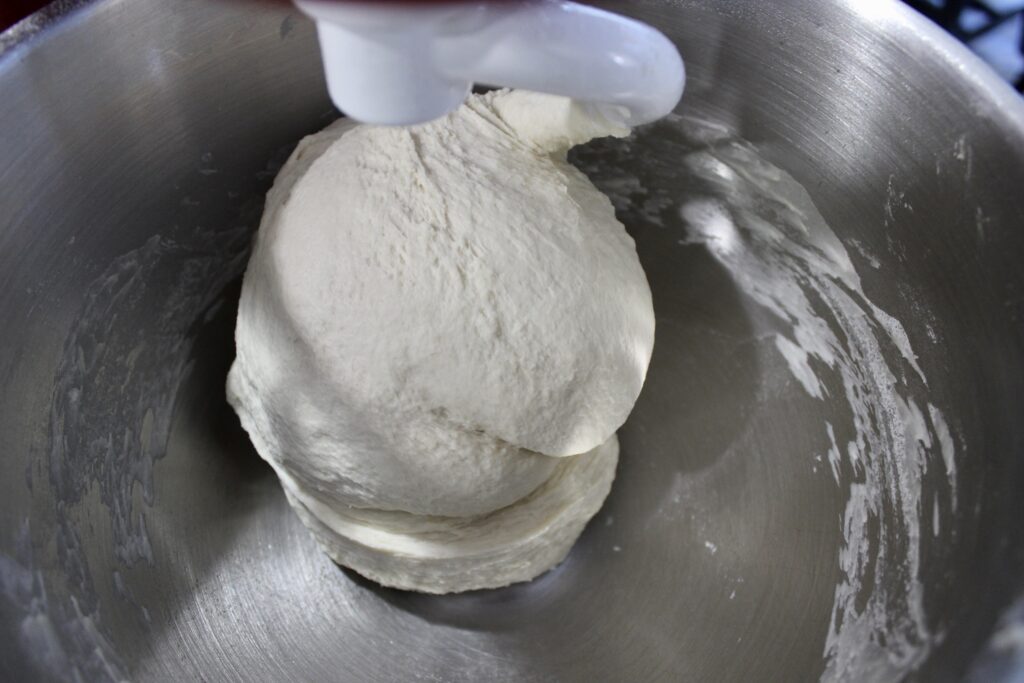
Cover with a damp towel and let it rise until it’s doubled in size. This could take about an hour or up 2 hours. You want to keep the dough moist, otherwise it will form a crust on top and interfere with rising. If you leave the bowl in the oven with the light turned on, that’s the perfect place to let dough rise. Otherwise, make sure it’s not near any draft or cool air.
How to shape baguettes
Once your baguette dough is doubled, punch it down a few times to release air bubbles, then turn onto a clean counter dusted with flour. Knead it a few times and cut into 4 equal pieces. Now you just have to roll the dough into snakes, just like when you were a kid. Remember play dough? It was practice for bread making.
Use a rolling, squeezing, stretching technique and don’t worry too much about what they look like. You want them to be long and thin. Place them on a baking sheet and let them rise again until almost doubled. This will take around 45 to 60 minutes. Ish. The book suggests an oiled baking sheet but parchment paper works pretty good too.
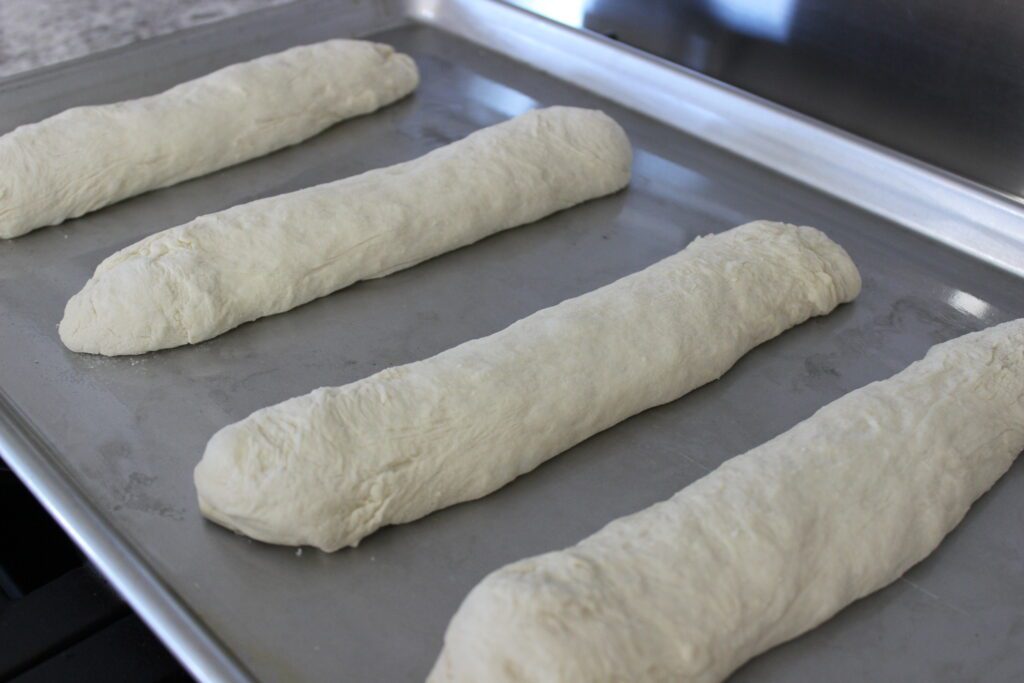
Don’t worry if they flatten slightly. Baguettes aren’t perfectly round. And they might not look perfect at first but they smooth out as they rise. They continue to rise when they’re baking too.
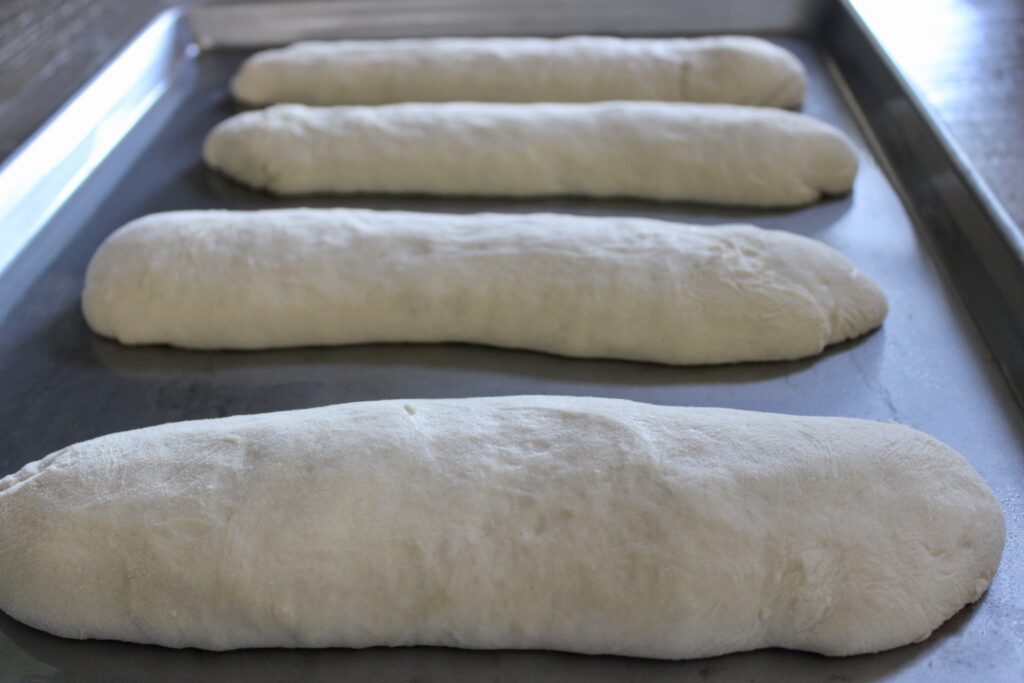
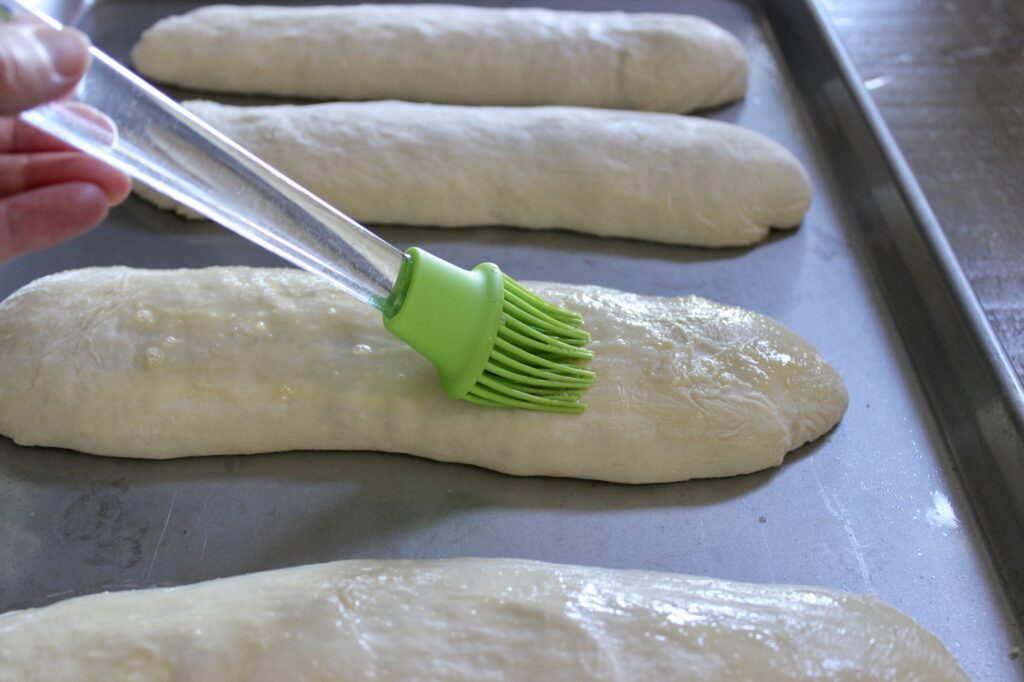
Once they’ve almost doubled in size and the oven is preheated, brush the loaves with an egg wash to give the exterior a shiny golden finish. OR, what I’ve discovered works well is a spritz of water. Not too much, but if you have some type of water mister it will help you achieve a crispy evenly browned crust. Use the regular bake setting, not convection, to prevent the loaves from forming a crust too soon before they’ve had time to rise properly. You can switch to convection for the last few minutes if the baguettes aren’t browning enough.
Give the loaves some slashes with a very sharp knife or razor blade to ensure they rise evenly without splitting. It also gives them that authentic French Baguette look. Make a quick one direction slice without sawing back and forth.
If you’re lucky enough to score a baguette pan like this, it’s awesome and just happens to be the perfect size for this recipe. The holes help the baguettes bake and brown evenly and it’s super non stick so they slide right out.
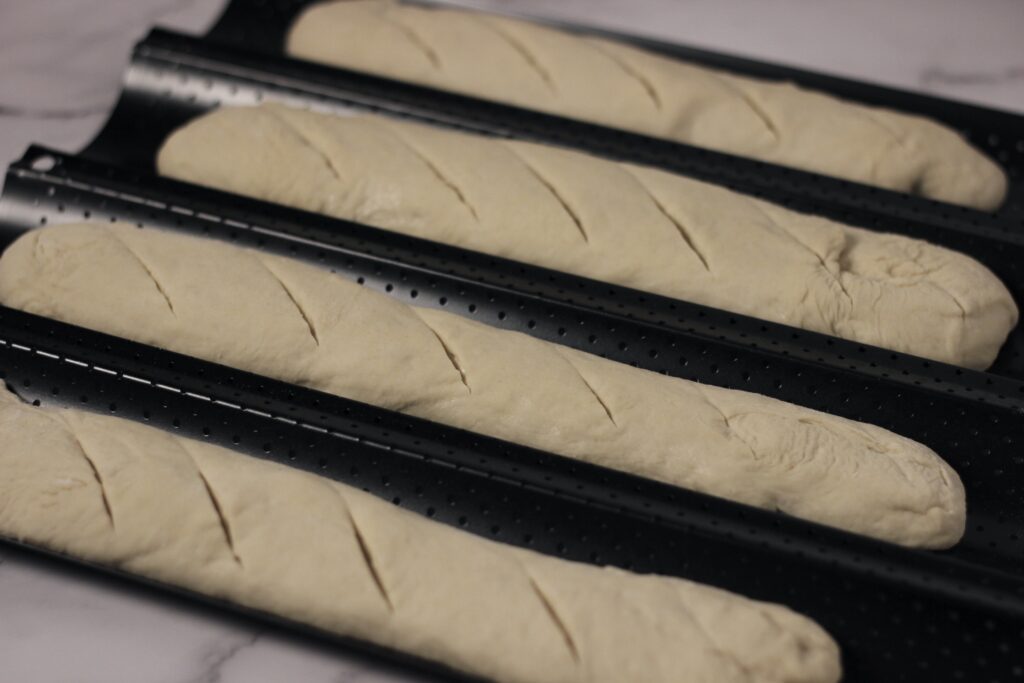
Otherwise, if you’ve got a full sized baking sheet you can bake all 4 on one pan, laying them crosswise. Or use 2 regular sized baking sheets and lay them lengthwise. Put an old pie plate on the very bottom of the oven under the lowest rack and add 1 1/2 cups boiling water before you preheat the oven. The steam created helps give the bread a golden crusty exterior with a chewy interior. I know that doesn’t make sense but it’s true.
Bake on the middle rack of the oven if you’re using a full baking sheet or on the lower and middle rack if you’re using two sheets. Turn the heat down slightly after 15 minutes but don’t open the door and don’t be tempted to switch rack locations if you have 2 baking sheets. After 15 minutes, the baguettes may look like they’re almost done but they need more time to ensure they have a nice crusty exterior. It’s also important to cool them on a rack right away so don’t leave them on the baking sheet.
Homemade bread has none of the preservatives that store bought has so you’ll want to eat these within a day or two. Baguettes freeze well so you can eat some and save a few for another time. Once they’re defrosted, pop them in the oven for 5 minutes and they taste like freshly baked all over again. Or use your leftover baguettes to make Bruschetta Bread or Stuffing.
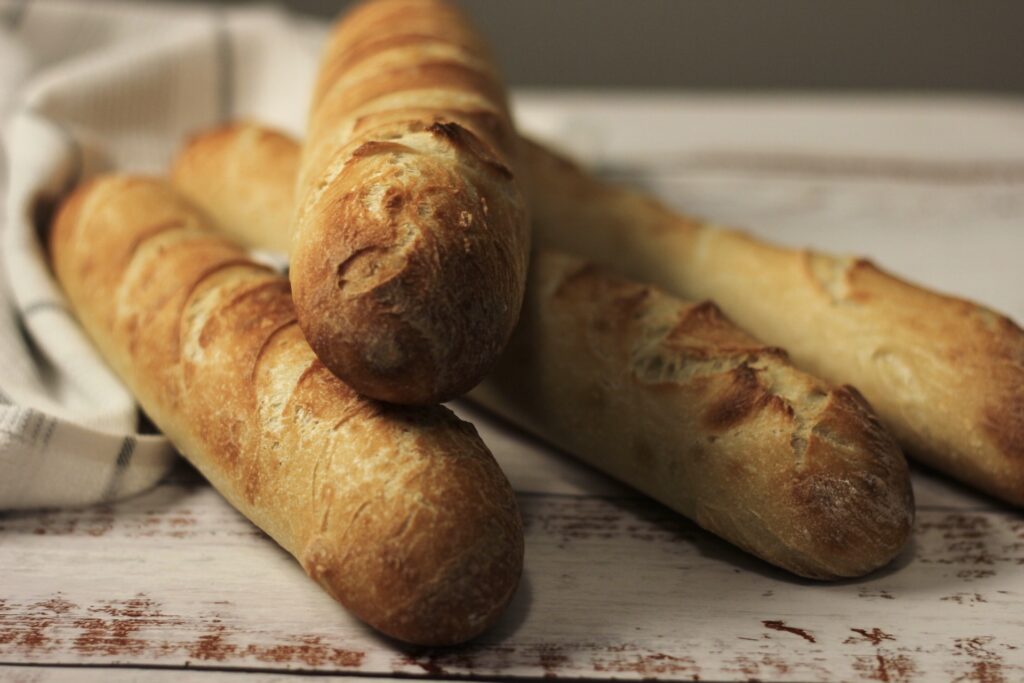
If you try making your own French Baguettes, consider leaving a comment or rating below. Here’s the recipe:
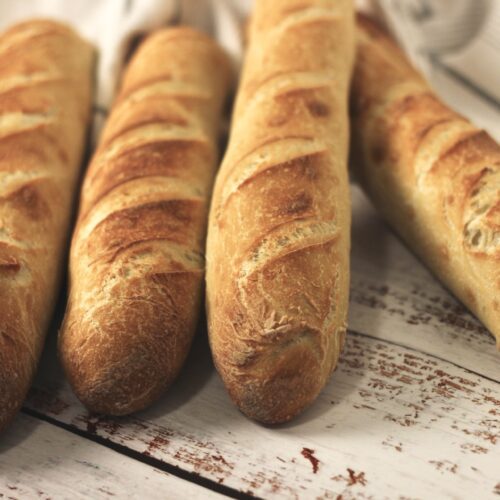
French Baguette
Ingredients
- 1 tsp active dry yeast
- 2 cups warm water, or slightly less
- 4-5 cups unbleached all purpose white flour
- 2 tsp kosher salt course salt
- 1 egg, beaten mixed with 1 Tbsp cold water or cold water mister
- oil for greasing baking sheet if not using baguette pan
Instructions
- Dissolve yeast in a small bowl in 1/2 cup warm water. Stir and set aside until it foams, about 5-10 minutes.
- Combine (most of) flour and salt in the bowl of a stand mixer with dough hook attachment. Add yeast mixture and remaining 1 1/2 cups warm water. Knead on speed #2 until the mixture is combines well and dough is no longer sticking to the bowl, adding more flour in small amounts as needed. Knead until smooth.
- Take bowl from mixer and cover with a damp towel. Let rise at room temperature for about an hour or longer, until doubled in volume. It may take 2-3 hours depending on the season and where you live.
- Punch down the dough and knead a few times on a floured surface. Cut into 4 equal pieces and roll into long thin loaves. Use a rolling, squeezing, pulling technique.
- Transfer loaves into a baguette pan or a lightly oiled large baking sheet or 2 loaves onto each of 2 baking sheets. Let rise again until nearly doubled. Cover very carefully with oiled plastic wrap if desired, but that is optional. Second rising normally takes 45-60 minutes.
- Preheat oven to 450 degrees on the bake setting, not convection bake. Ensure rack is in middle of oven or if using two baking sheets, the lower and middle location. Place a metal pie plate on the oven bottom under the lowest rack and add 1 ½ cups boiling water.
- Beat egg and add cold water. Brush over loaves. OR, spritz gently with water. Using a very sharp knife, slice diagonal slits in the tops of loaves.
- Bake for 15 minutes at 450° then reduce heat to 400 without opening the door. Bake another 5-10 minutes until loaves are golden brown. If desired, switch to convection bake for last few minutes if loaves aren't browning enough.

Sounds really good but complicated! Only time I’ve made bread was with a bread maker – 25 years ago! I might give this a go! Thanks.
I have to admit I’ve never liked bread from a bread maker. This is worth trying! If it’s a flop, let me know and I’ll make some for you!
Sounds nice and easy! I have a new kitchen aid I’ve been breaking in.
I’m going to reduce the recipe as I don’t want to make 4 loafs ( my freezer is full) AND I don’t have a metal pie tin, that’s so random…lol, do people just have these? ?♀️
I think I’ll just put the water on the low rack and the bread in the middle. What do you think, I want to have bread tonight with the soup I’m making.
Thank you
I love my Kitchenaid! Yes I’ve made a half recipe before. And yes the water on the lower rack will be ok, just make sure the oven is preheated before you put the bread in so the top doesn’t get too brown.
Oh and the metal pie tin is really old lol, it was from a grandmother. I only use it for bread!
They look absolutely delicious, I can almost smell them from here. Thanks for sharing such beautiful recipe, agree it’s little hard but I would love to try after reading your recipe
I’m making these tonight. I had to improvise. The dough was too soupy. They’re rising now I can’t wait to see if they turn out. They look delish!
Oh no, I wonder what went wrong! Sometimes that happens with bread. I hope your improvisation worked. The amount of flour really does vary depending on so many factors but I usually use almost the entire 5 cups.
Made this for the first time the other day. Awesome recipe! I was so impressed with how it turned out!
I’m so glad it turned out well for you! It’s a great recipe, isn’t it?
These taste so good thank you for the recipe! I’m new to making bread & I’ve made these twice, following the instructions closely. Both times they were very flat after the second rise, any thoughts as to why that might be or how I could fix it?
Hi Caitlin, thanks for your question. Bread is a funny thing. I’ve had exactly the same problem when making it myself. I usually use all 5 cups of flour when I make them. Here are a few thoughts. The temperature, air pressure and even the elevation at which you live can all affect bread rising. So it may take longer for those stages. Also, yeast can lose it’s ability to rise if it’s old or if the warm water is a little too warm. You can kill yeast if it’s too hot. If you sift flour and then measure it and compare the amount to just filling your measuring cup from the bag, you’ll get different amounts.
I find when my baguettes stay flat it’s sometimes that the dough is a bit too soft so I would suggest trying to increase the flour amount next time and see if that helps. Also try a different location for rising like inside the oven with the light on if you haven’t tried that.
Please let me know if you get better results next time!
Hi Caitlin, I just discovered another thing that may help. I’ve been experimenting with sourdough bread and I learned that bread flour absorbs more liquid than all purpose flour. I sometimes use bread flour when making these baguettes. If you try bread flour next time, your baguettes may hold their shape better. Or reducing water with all purpose flour.
Let me know if you try this, hopefully you get better shaped baguettes.
Check your yeast. Do a proof test, 2 1/4 years add 1tsp sugar and 1/2 cup warm water. Stir then wait 10 minutes. If it did not froth and double in size get some new yeast and keep th rest in the freezer/
.
This such an easy recipe. I’ve made it about 10 times now. I don’t use egg for the top anymore. I just brush EVO on top, comes out golden brown. A whole batch makes 4 medium size loads. I freeze 3 in gallon size zip lock bags and the other only lasts about 1 to 2 days. I store that one in a zip lock on my counter and it stays great for 2 days. This bread is great for bruschetta.
Yes, it’s such a great recipe! I wish I could take credit for it. Thanks for getting in touch.
Beautiful loaves and very easy to make!
I love these!
Hi, I made the dough and was wondering if I can freeze or refrigerate the dough over night and cook in the morning?
I wouldn’t recommend freezing it. Although I have never tried to be totally honest. You might get away with refrigerating it over night if it’s covered with plastic wrap, you’ll need a much longer rising time the next day. If you give it a shot let me know!
I do not have convection oven..what do I do to bake..want to do today.
They will bake up perfectly on regular bake setting! The original recipe doesn’t say to bake in the lower part of the oven but I find that’s the best location. Make sure the oven is totally preheated before putting them in!
I don’t see to use convection in the recipe. Do you use convection or regular oven setting? Thank you.
Hi Julie,
I’m glad you asked! I always bake bread on regular bake setting. Convection may cause the baguettes to form a crust too soon before they’ve had a chance to rise properly. That being said, if your bread is almost done and risen nicely and you’d like to see a browner crust, switching to convection during the last few minutes will help that along.
Thanks for bringing that to my attention, I’ll make a note about that in the post!
I tried a few recipes and this one is definitely the best one. My whole family does not want me to change the recipe. Thank you!
Great to hear! Thanks for letting me know!
I am anxious to try this recipe but would like to add some baby Bella mushrooms to the dough before baking. Can you advise me on if I should saute the mushrooms first or use them fresh? Thank you
Hi Janice,
I’ve added herbs to the dough before but not anything like mushrooms. For sure you would want to cook them first and squeeze out as much moisture as possible, otherwise the natural liquid in the mushrooms would make the dough too wet. I’m curious to hear how it turns out, please let me know if you try this!
If you want to add mushrooms to a bread recipe, I’d recommend either the New York Times No Knead Bread or the Olive and Onion Bread recipe on my site. I think mushrooms would work great in either of those breads.
Marcie, is it ok to freeze 2 of the loaves of dough and bake them later. There are only 2 of us, but we love homemade bread.
Hi Linda. I haven’t ever frozen the unbaked dough but I’ve frozen pizza dough and it works out fine so it might be ok. After the first rising, punch down and shape the loaves, then freeze them so they can rise as they defrost. If you do try I’d love to hear how they turn out.
I have frozen the baguettes after they’re baked and cooled. I wrap them well and then when they’re defrosted I pop them in a hot oven for about 5 minutes. They’re ALMOST as good as fresh baked!
Hi Marcie, thank you for the great recipe.
I made 2 loafs of the bread with egg wash on Monday 13 Sep and kept the other 2 loafs in my refrigerator. Today, 16 Sep I had them knead abit and proofed for 2 hours before baking. This round I did not use egg wash but tap the dough with little water before baking. I realised that the dough are easier to knead after putting in the fridge for a day or 2. You can see that it has fermented more. The first batch of my bread looks abit flat as compared to the 2nd batch. The taste are awesome! Thank you once again.
Oh that’s awesome, I’m glad you let me know. I will have to try a slow fridge rise!
Thanks!
So do you keep the pan of water in for entire baking time or just to preheat?
Yes, leave the pan in the oven during baking. It will likely have all evaporated by the time the bread is done.
Just made 4 loaves, nice brown crusty top. Love the easy recipe 🍞
I’m glad you love them!
Great recipe. Getting into bread baking with a stand mixer as a novice. Found this recipe easy to follow, and the end result was fantastic baguettes. This is a keeper! Thank you!
I’m so glad you tried it!