The ever popular and super easy bread recipe featured in an article in the New York Times. The hardest part about making this no knead bread is waiting to eat it. It’s literally that easy.
New York Times No Knead Bread is one of the most popular recipes ever published in the Times. You simply mix up the ingredients then let it rise slowly for 12 to 20 hours. It uses very little yeast so it takes a long long time. You don’t even “knead” to proof the yeast! Get it? Knead? Sorry, I couldn’t help myself.
Jump to Recipe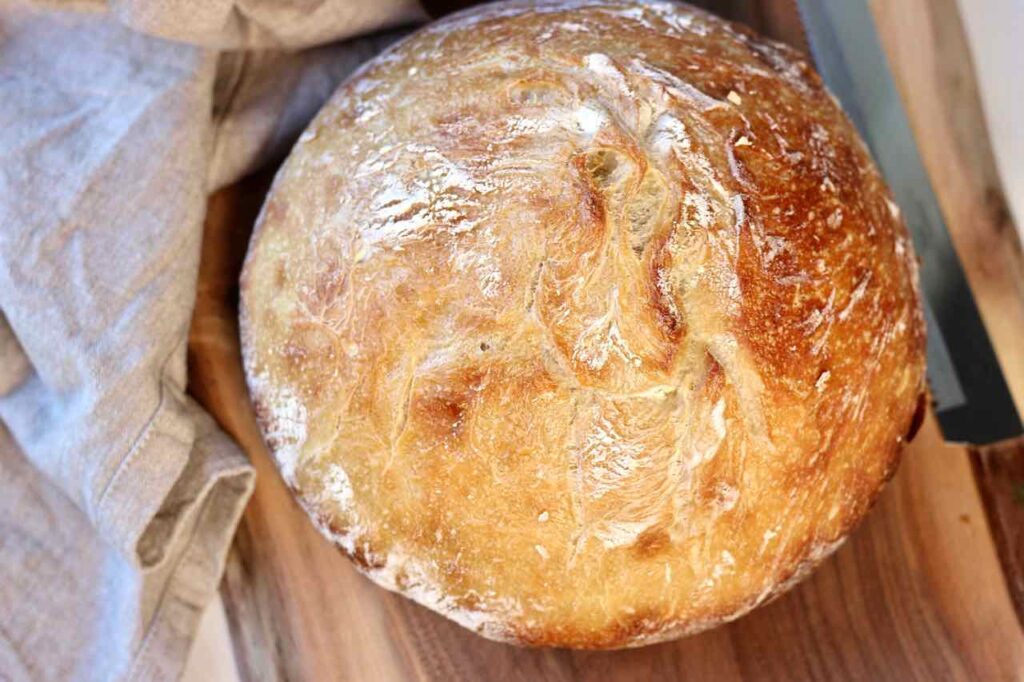
If you search for this recipe you’ll find some variations in ingredient amounts, rising time and cooking time. In fact, the recipe that I was given by a friend differs from the one on the NYT cooking website. Turns out I had the original recipe. It was then adapted by Mark Bittman and published. I have made it both ways and I have to agree with the adapted version, a little more flour is better. The recipe below is the updated version.
So what’s the difference between letting it rise 12 or 20 hours? Well, from what I’ve found, not much. It’s mostly about the interior of your loaf, with a longer rising time giving slightly larger holes. It really comes down to when you want to bake the bread. The long range allows you to make it at night or the morning, bake it later in the day or earlier in the day.
How to make New York Times No Knead Bread
Start by mixing the flour, salt and yeast in a bowl. The recipe calls for kosher salt. If you only have regular table salt, use a little less. Bread does need salt but that’s the great thing about baking your own, you can control the amount of sodium which can be very high in some commercial breads.
Pour warm water over top and mix. It’s quite a shaggy, sticky dough at first. The temperature of the water isn’t as important as it would be if you were making a recipe that required proofing the yeast. Make sure it’s not too hot, just warm like bath water.
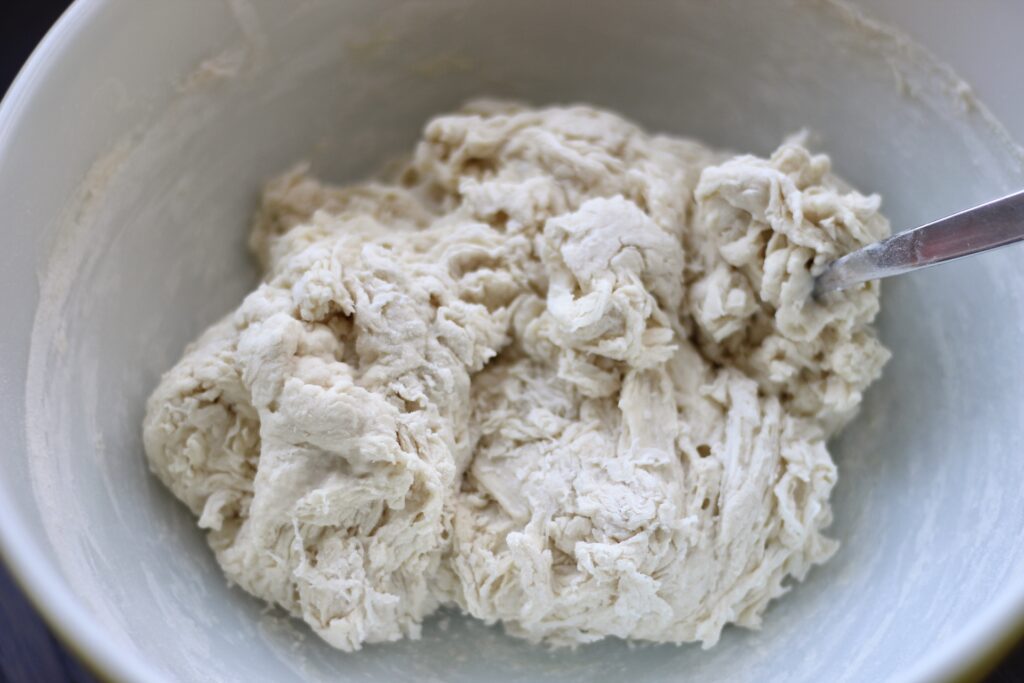
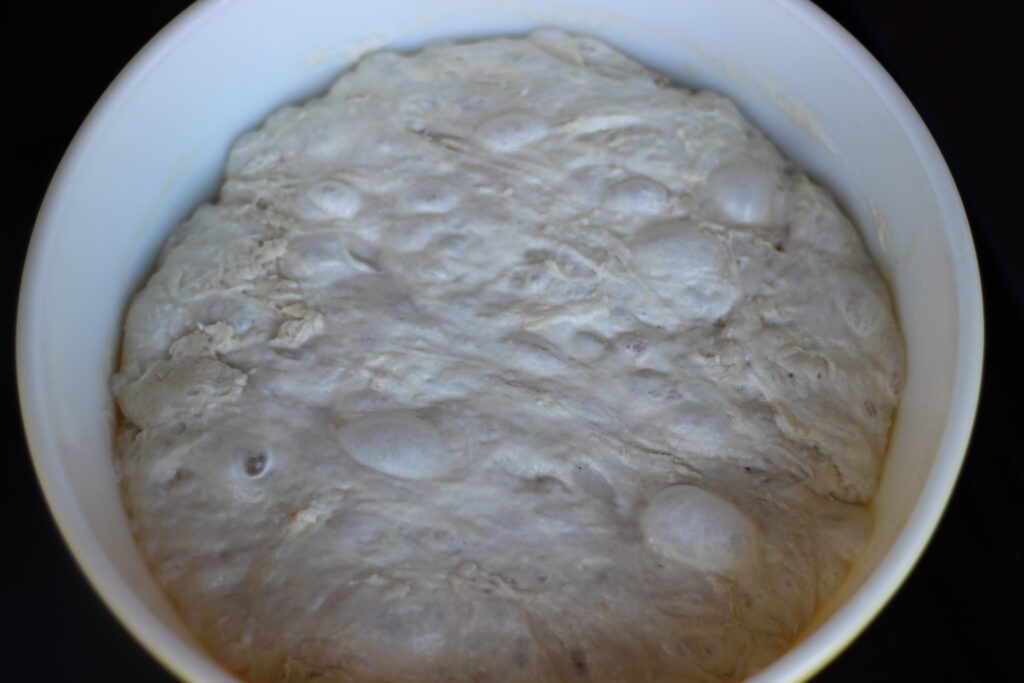
That’s it for now. Cover the bowl with plastic wrap and a towel. Leave it to rise somewhere in a warm place. I usually put mine on top of my upright freezer. Another great option is in the microwave with the door closed so there’s no chance of a draft. If you were making an average loaf of bread you could cover the dough with a damp towel. But since this needs a much longer time to rise, plastic wrap prevents a crust forming on top. After at least 12 hours and up to 20 hours, it will have doubled in size and should have some large bubbles on top.
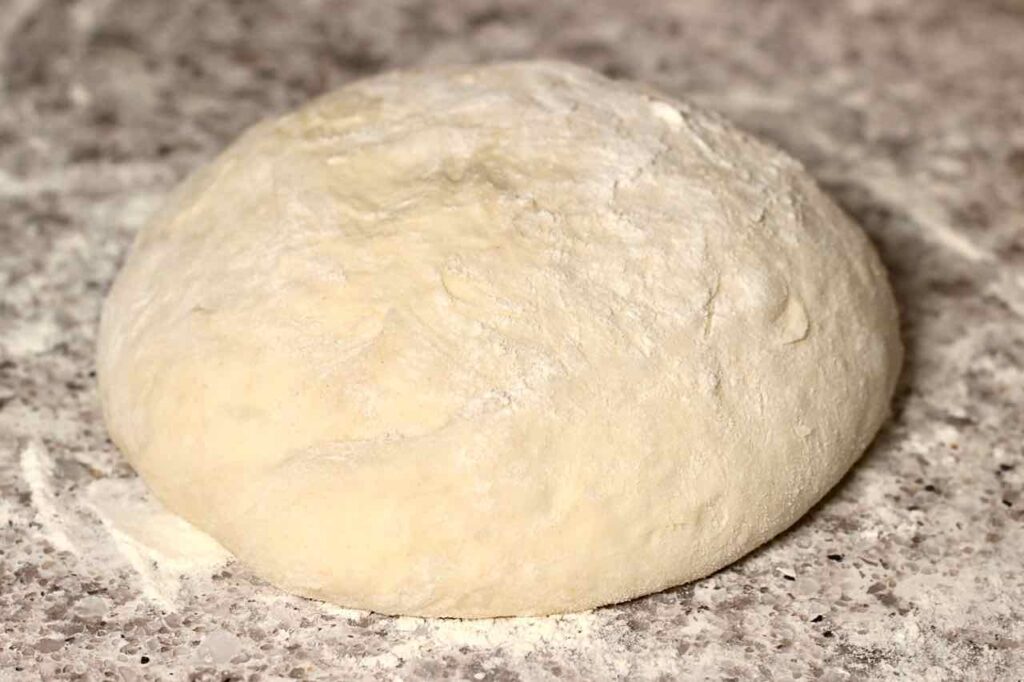
Dump the dough onto a floured surface and give it a quick knead. Just press out the air bubbles and fold it over itself a few times, press down, turn repeat. It might squeak and pop and it will definitely stick to your fingers. Then shape the dough into a ball, dust lightly with flour, including underneath, then more waiting. Use the same piece of plastic wrap from the bowl to loosely cover the dough. Or flip the bowl over and cover the dough with that. Then another 2 hours of rising. Even the 2 hours is flexible like the initial rising time. I’m going to say at least 2 hours. It might double in size or at least close. But it will also spread out a bit but that’s ok.
Once you’re ready to bake New York Times No Knead Bread, preheat the oven to 450 degrees. That’s a pretty hot oven but that’s what gives this bread it’s excellent crust. You also need to preheat the pot you’re cooking the bread in. A heavy lidded pot like a dutch oven works best and it needs to be at least 3 litres to give the bread room to rise. Put the pot in the oven while it preheats. Set your rack somewhere between the middle and the lower level. Don’t worry about preheating the lid. Then dump your dough in, cover and bake. After half an hour, remove the lid.
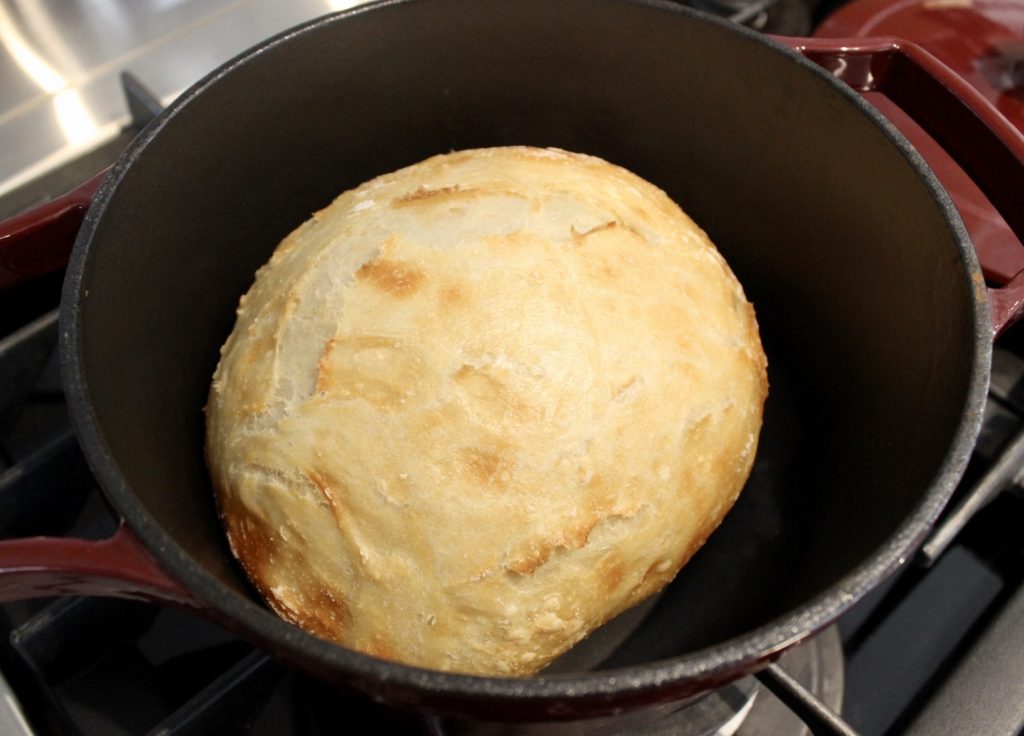
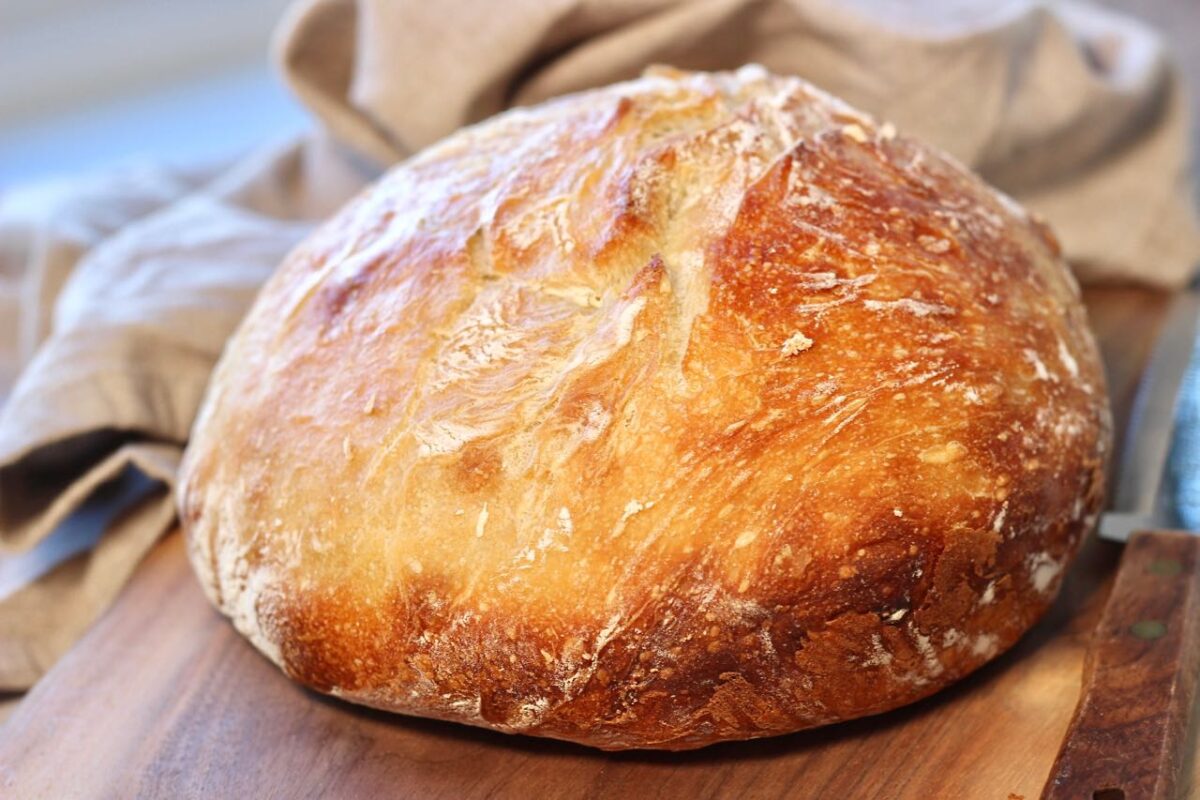
It should be risen fully and just starting to brown. Doesn’t this look beautiful? But it’s not quite done yet. Bake it another 15-20 minutes or so without the lid on. Some versions of this recipe actually say up to 30 minutes but this heavy dutch oven really holds the heat and it was nice and brown with a good crust after 15 minutes which is what my hand written original recipe said.
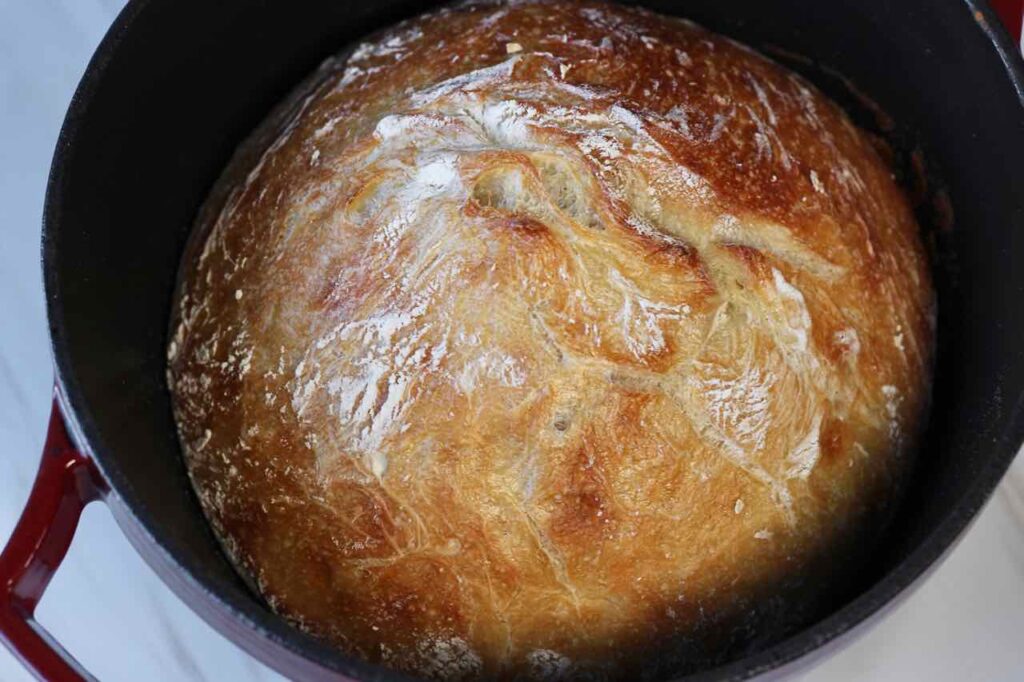
Then MORE waiting. Until it’s cool enough to slice. The end result is a beautiful rustic round loaf. It isn’t the same texture as a typical kneaded yeast bread. The crust is dark, quite tough and chewy and the interior has a fair amount of holes, similar to sourdough bread.
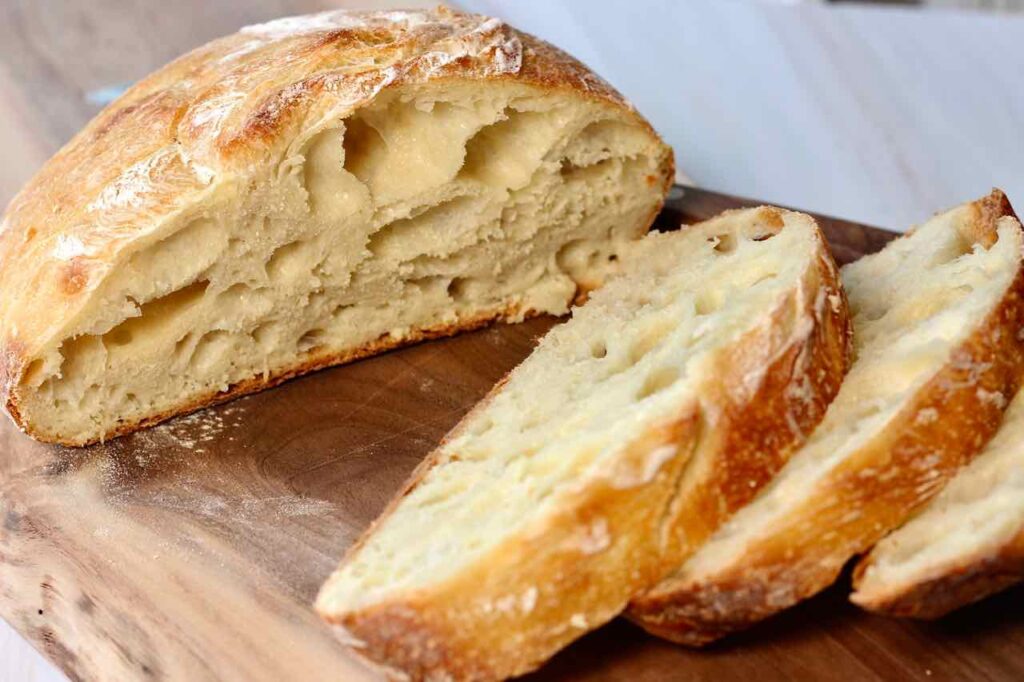
You can make all kinds of variations of New York Times No Knead Bread. I’ve experimented by adding a few herbs, some chopped garlic, even some parmesan cheese and it always seems to come out great. Fresh or dry herbs, dry cheeses, seeds and even small dried fruits can be added to the dough after the first rising. The combinations are endless.
Like all homemade bread, New York Times No Knead Bread only stays fresh for a day or two. That’s not usually a problem in our house because it won’t last that long anyway. But it makes great toast. The best way to use up the last of your loaf is in French Onion Soup.
Once you’ve mastered this, and since you have some leftover yeast anyway, why not try making Olive and Onion Bread or French Baguette ?
If you make New York Times No Knead Bread, consider leaving a comment or rating below. Here’s the recipe:
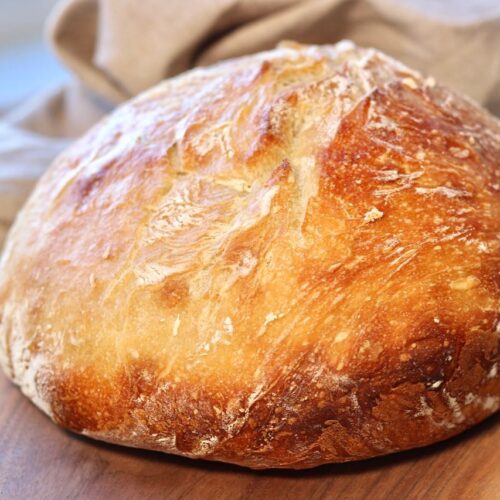
New York Times No Knead Bread
Ingredients
- 3 ⅓ cups all purpose flour
- 2 tsp kosher salt or 1 ½ tsp if using table salt
- ¼ tsp active dry yeast
- 1 ½ cups warm water
Instructions
- Mix all ingredients together until a sticky dough forms.
- Cover with plastic wrap and a towel and leave to rise in a warm place away from drafts. Let rise for a minimum of 12 hours up to 20 hours.
- Flour a clean dry surface. Dump dough out and press out bubbles. Knead a few times by pressing down, folding over, turning and repeating. Form into a ball and dust with flour.
- Leave to rise a minimum of 2 hours until doubled in size.
- When bread is nearly finished rising, preheat oven to 450 degrees. Place heavy lidded pot such as a Dutch oven in the oven to preheat on a rack between the middle and bottom.
- Carefully place dough into the heated pot, cover and cook for 30 minutes.
- Remove lid and cook another 15 - 20 minutes or so until the dough is nicely browned and a good crust is formed.
other easy bread recipes to try

This looks so yummy! I love bread but I don’t eat much anymore. Have you ever frozen this bread?
We usually eat our bread up pretty quickly, especially when it’s homemade! I haven’t frozen this one but I’ve frozen the baguettes and olive and onion breads and they freeze well. I find most breads freeze very well if they’re wrapped well in plastic and not left too long. I just thaw them, then pop them into the oven around 350 for 5 minutes or so, depending on the size of the loaf. You could even fool people into thinking they’re fresh baked!
Love love this bread. Please advise how I can turn it into buns and how long I would cook the buns for. Thank you for this wonderful recipe. My husband says it’s the best bread he’s ever eaten
That’s awesome, thank you so much! I wish I could take credit for the recipe. haha. I haven’t made it into buns. I have made 2 smaller loafs and they turned out ok. This is just a guess but you could cut the dough into equal parts (I wouldn’t try to make very small buns), roll them into individual balls, allow to rise and heat a wide baking pan while that’s happening. Then carefully drop them in spacing as evenly as possible, close to each other. Baking time would be maybe half the time? (remember I’m just guessing!). If you try, let me know how they turn out. They wouldn’t have the same consistency as a typical dinner roll but they might be amazing. Or hard. haha.
There is nothing like warm, homemade bread. Thanks for sharing.
💖. Thanks for sharing!
You’re so welcome. It’s too good not to share!
Mine has been very dense on the inside not a lot of air bubbles . Almost seems like it’s not done. Any suggestions?
If yours seem too dense and not baked through, maybe try letting the dough rise a little longer to make sure it’s had enough time to expand – in both rising stages. And of course yeast can be the culprit as can humidity, elevation and even time of year. Breadmaking can be a mystery sometimes. Hopefully you get better results if you try again!
Love this crusty bread with a pot of soup. I’ve made it many times and everyone loves it.
And it’s so easy!
I very much enjoy this recipe and I am now baking bread every week. I do prefer to let it go for the 20 hours during the first rise and find that it can need a bit more than 2 hours for the second. I have learned to kinda poke the dough to see when it is ready as it will slowly expand ba k out versus quickly. Also, I sometimes sprinkle cornmeal on the ball of dough before the final rise.
As far as halving the recipe, I am a bit confused if you successfully did this and what the baking times were?
Thank you so much!
Isn’t making your own bread so rewarding? I did make 2 smaller loafs a few times. Instead of baking in the pot, I baked them on a pizza stone. I wish I could remember the exact timing but I think it was only about 10 minutes less baking time. I do remember they were less round, but still turned out ok. Maybe I’ll do some experimenting and see how it goes. I often make a half recipe of the French Baguettes which is easy because I just make 2 instead of 4 so all timing stays the same.
Good tip about poking the dough!
Since my last comment, I have baked 2 batches of 2 half-loaves each. The kitchen starts truly filling with aromas around 20-21” in. For me, the sweet spot is to remove the lid at around 24” before fully browning the crust. That is a 20% reduction from the 30” baking time from the original recipe for a single loaf. I hope this helps and I will share more if I make further adjustments. 🇨🇦
That’s awesome, thanks so much for working that out!
Love this recipe, baking it a couple of times a week. Haven’t bought commercial bread for many months. My adaptation follow Forkish’s advice in Flour, Water, Salt & Yeast. Start in morning, frig in the evening before bed, then back out of frig at breakfast for a couple of hours to rise in warm spot, then bake. But also done a wide range of variations and all were good.
That’s a good idea, I like the timing you suggest. I’ll try that for sure! Thanks!
I really can’t rate it yet as I just got it mixed up and it was very dry so I did add some more water probably about a quarter cup. I hope this will turn out OK
It isn’t a very wet dough at first, it’s quite stiff and shaggy. I’m curious how your loaf turned out.
Hello, thanks for this bread recipe. Please can you tell me is the oven temperature Fan- Forced 450 degrees? I only have a Fan-Forced oven.
Thank you
Emma
I have only baked this bread on regular bake setting. My oven does have a convection option, I will give it a try. My guess would be that it should be ok because the pot has the lid on. I would suggest you slightly lower the temperature, and at the point where you remove the lid, give the pot a half turn. If you try, let me know how it turns out!
I’ve made this recipe about 5 times and it’s always good. I added garlic and herbs and it’s good. I coated it in butter and parmesian cheese and it’s good. I added black olives and it’s good. I shaped it into bagettes and it’s good. Holy hell, how is this not the first best recipe you learn in chef school?
Right? It’s so easy and versatile!
Always enjoy a loaf of this bread! I’m curious though, what is the original recipe you referenced? I’m a little leery of other web copycat recipes that use instant yeast or only have one rising period.
The original recipe published in the NYT is this one I’ve posted. A friend gave me her recipe which had only 3 cups of flour. Sorry, I can see my wording is a bit confusing.
Thanks for calling my attention to that!
Marci
Kind for sad, I suppose….. This loaf is going to be diced up and dried for stuffing 🤣 I used imported pizza flour – Caputo, which I have found that I can tolerate very well after 20+ years of being gluten free eating. For anyone who is thinks they are “gluten intolerant” (not celiac), this is well worth a try. It’s not the gluten!
I feel so bad for people who have gluten issues, I just can’t live in a world without bread!
Recipe so easy to follow and bread absolutely delicious. Like to know if i can freeze the dough at any time
I haven’t tried freezing this dough but I have frozen some pizza dough after the first rising, then let it rise the second time after defrosting. It might work if you use this method. I’d love to hear how it worked out if you try it!
I bake this bread all the time. Note: the NYT recipe calls for instant yeast – if using non-instant you should probably mix it in warm water before adding to flour and salt. Also – it’s messy – after the first rise I shape it then plop it in a parchment-lined bowl for the 2-hour rise. Then I just plop the whole thing in the pre-heated Dutch oven to bake. It’s a family favorite! I make at least 3 loaves a week.